
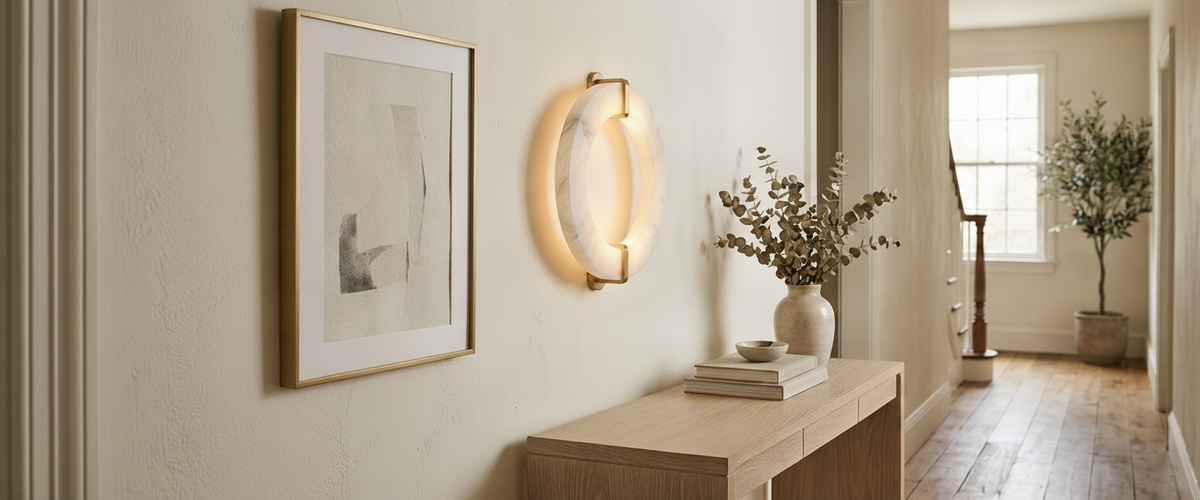

The wall decides most of this job before you pick up a drill. Where the junction box sits, where the studs run and what your fixings can actually hold have already narrowed your options, so the smart move is to read the wall first and install wall sconces around what it will give you. Fight that and you get a crooked backplate and a cable that looks like an afterthought. Work with it and a stone fitting sits as if the room was built around it. What follows is the full sequence you need to install wall sconces properly: finding structure and power, setting height and projection for the room you actually have, choosing hardwired or plug-in, leveling the backplate, dressing the cable, and picking a bulb and dimmer that suit alabaster. It also marks the point where you stop and call an electrician.
We say this as a maker of alabaster and natural-stone lighting, not as a generic hardware voice. Stone carries visible weight and a glow that falls unevenly if the fitting sits even slightly off level, so the prep matters more than it does with a thin metal fixture. Get the groundwork right and the warm, diffused light does the rest.
Level the backplate carefully before fixing a stone fitting.

Key Takeaways Before You Start
Find the box and the studs first. Where power and structure sit dictates height and centering more than the instruction leaflet, so map both before you install wall sconces.
Set height to the room and the eye, not just a default number. Projection matters as much as height in a hallway or beside a bed.
Decide hardwired or plug-in early. You can install wall sconces without an existing box; it simply changes the route.
Level the backplate obsessively. Stone shows a tilt that metal hides.
Match bulb and dimming to the material so alabaster glows warm rather than glaring.
Hand the live connections to a qualified electrician. Mains wiring is not a DIY step.

Read the Wall First: Junction Boxes, Studs and What Your Fixings Can Hold
Start with a knock and a stud detector before you install wall sconces anywhere. A solid masonry or brick wall behaves nothing like a stud partition, and a stone fitting is heavier than most people expect when the box arrives. You want fixings that bite into something structural, not just a skim of plasterboard.
If there is an existing junction box, mark its center and treat that as your anchor point. A hardwired fitting is designed to mount over that box, and moving it means chasing new cable, which is electrician territory. On a stud wall with no box where you want one, plan to land the fixing into a stud or use proper cavity anchors rated well above the fixture weight. For guidance on load ratings and safe fixing into different wall types, the advice from Electrical Safety First is a sensible reference before you commit a drill to the wall.
One studio lesson worth passing on: we shipped a pair of stone sconces to a client in a period property with lath-and-plaster walls, and the original fixings crumbled the plaster on the first attempt. The fix was a broader spreader plate behind the backplate. If you install wall sconces on an old or uneven wall, budget time for this rather than assuming a standard plug will hold.
Height and Projection That Suit the Room, Not Just the Instructions
Most guides quote a single mounting height and stop. Real rooms are messier. Where you install wall sconces changes the answer: a hallway fitting that clears people's shoulders reads differently from a bedside pair, and one flanking a bathroom mirror wants to sit near eye level to light the face rather than the ceiling.
As a working starting point, hallway and living-space wall lights often land somewhere around 60 to 66 inches (152 to 168 cm) to the center of the fixture, then adjust for ceiling height and the people who use the room. Bedside fittings usually sit lower and further from the wall so light falls onto a book, not the pillow. Where a narrow corridor cannot spare the projection, a shallow fitting that hugs the wall such as Arden 1 Light Wall Light in Matt Black keeps the pathway clear while still washing light upward.
Projection is the number people forget. A fitting that stands proud of the wall throws a wider pool of light but eats into a narrow corridor. Alabaster reads beautifully when its glow can spread across the wall behind it, so give a stone piece a little breathing room rather than crowding it into a tight junction. If you are still choosing the fixture before you install wall sconces, browsing the shapes in our alabaster lighting range will show how much projection varies between a flush half-shade and a deeper carved bowl.
Set height and projection to the room, not a default number.
Hardwired or Plug-In: Which Route Your Wall Is Actually Asking For
This is the fork that decides most of the job. Install wall sconces as hardwired fittings and they disappear into the wall with no visible cord, which is the cleaner look and the one most stone pieces are designed for. It needs an accessible junction box and, in almost every case, a qualified electrician to make the connection.
Plug-in versions solve the no-wiring problem. You install wall sconces the same way, then run a cord to a nearby socket, and many designs let you swap between wired and plug-in with a small internal change. That flexibility is genuinely useful in rented homes or where chasing a new cable into solid masonry is not worth the disruption.
How to Install a Wall Light Without Existing Wiring
If you want the look of a hardwired fitting but have no box, you have three honest options when you install wall sconces. Route a new cable and add a box, which means an electrician and some making-good afterwards. Choose a plug-in version and manage the cord with a discreet channel or a wall-mounted cord cover finished to match. Or use a good-quality battery or rechargeable fitting, which suits a spot where you want soft accent light rather than a primary source. Each has a trade-off in look, brightness and how often you top up power, so pick based on how the light will actually be used.
Leveling the Backplate and Losing the Cable Cleanly
The backplate is where a job looks either finished or bodged. Hold the plate against the wall, put a small spirit level across it and mark every fixing hole before you drill anything. On stone and alabaster fixtures the plate often carries real weight, so a second pair of hands makes it far easier to install wall sconces without scratching the plaster.
Drill your holes, insert the correct anchors for the wall type, and fix the plate loosely first. Check level again, because plaster is rarely as flat as it looks. Only then tighten fully. If you install wall sconces as plug-in fittings, decide where the cord leaves the fixture and drop it in a straight vertical line to the socket rather than letting it wander diagonally. A short length of paintable cord cover, painted to match the wall, reads far cleaner than a bare cable draped across the plaster.
How to Install LED Strip Lights on a Wall Near a Sconce
People often install wall sconces and pair them with a discreet LED strip to wash a wall or graze a stone feature. Keep the two color temperatures matched or the effect fights itself. Clean the surface, run the adhesive strip inside an aluminum channel to control glare and heat, and site the driver where you can reach it. On a natural-stone wall, a low-output warm strip grazing across the surface picks up the veining beautifully and complements the fitting rather than competing with it.
Bulb and Dimming Choices That Finish the Fitting Once It Is Mounted
Install wall sconces perfectly and they can still look wrong with the wrong bulb behind them. Alabaster and onyx glow best with a warm bulb, roughly 2700K, and a high color-rendering figure so the natural veining reads warm rather than flat and gray. A cool bulb strips the material of its character.
Match the bulb to a compatible dimmer and check both are rated to work together, because mismatched LED and dimmer pairings cause the flicker and buzz that ruin an otherwise calm room. The Chartered Institution of Building Services Engineers publishes lighting guidance worth reading if you want to understand how light level and warmth affect a space; their work is collected at CIBSE. For a stone piece, aim for a gentle output you can dim down in the evening rather than a single harsh setting. Where the fixture leans on its metalwork rather than a translucent shade to shape the glow, a warm brass finish like Elin 1 Light Wall Light in Lacquered Brass keeps the light feeling soft rather than clinical.
Frosted or opal bulbs suit thinner alabaster shades, since a bright filament seen through translucent stone can create a hot spot. Denser stone hides the bulb more forgivingly. When in doubt, test the fitting lit before you install wall sconces at their final height, because the pool of glow tells you more than any measurement. You can compare fixture styles and finishes across our full lighting collection to see how bulb visibility changes with shade thickness.
The Point Where You Stop and Hand It to an Electrician
Mounting the backplate, leveling it and dressing the cable are jobs a confident owner can do when they install wall sconces. Connecting a fixture to the mains is not, and no design writer should tell you otherwise. If the job touches the fixed wiring, the consumer unit or anything live, bring in a qualified electrician. It is the difference between a fitting that lights a room for twenty years and one that becomes a hazard.
Do the reading, respect the wall, and hand over the live work. Install wall sconces that way and the finished alabaster piece should look like it was always meant to be there, throwing warm light across the stone and asking nothing of you afterwards but the occasional dust.