
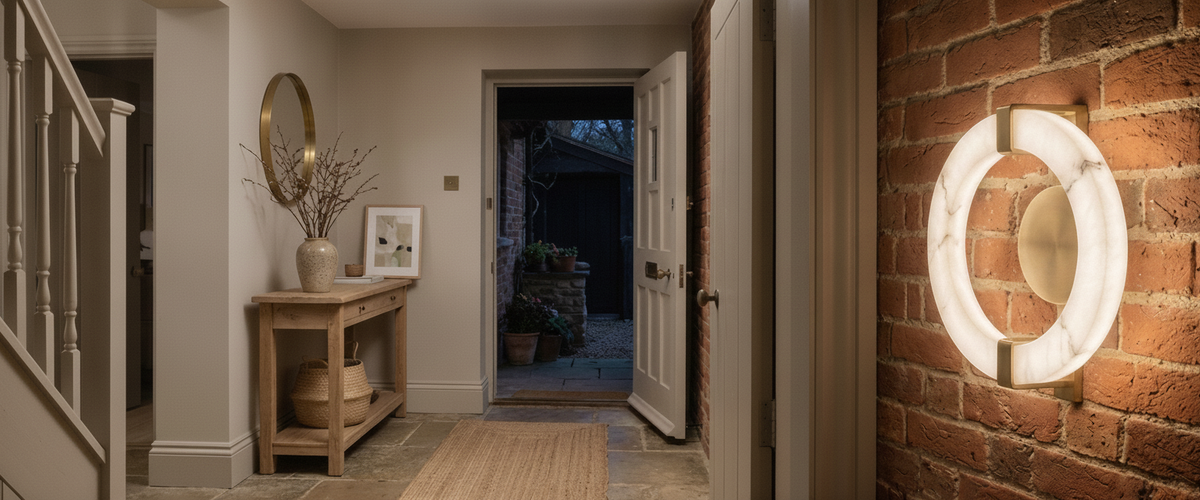

A house changes personality the moment the sun drops, and the fittings on the walls do most of the talking. Get your outdoor wall lights right and the brickwork gains texture, the front door reads as an invitation, and the path stops being a trip hazard. Get them wrong and you have hot spots, glare in the neighbour's bedroom, and a smear of corrosion by the second winter. This guide is about the first outcome.
Niori works mainly in alabaster and natural stone for interiors, so we spend a lot of time thinking about how a material shapes light. That same instinct applies outside, even though the materials shift toward weatherproof metal and glass. What matters is the beam, the finish and the fit.

Key Takeaways Before You Buy
- Beam shape sets the mood. Up-down fittings graze a wall; lantern styles throw soft light all round.
- Wired beats solar for reliability in British light levels, though solar has a genuine place for low-traffic spots.
- Match the IP rating to the exposure, not to a spec-sheet boast. IP44 suits most sheltered walls; go higher near driving rain.
- Mount at roughly eye level, near 66 to 72 inches (1.7 to 1.8 m), to keep glare out of sightlines.
- Hand the wiring to a qualified electrician. Outdoor circuits are not a weekend DIY job.

How a Fitting's Shape and Beam Redraw Your Facade
The single decision that changes everything is the direction of the light. An up-down fitting sends two narrow beams along the wall, and that grazing angle is what pulls detail out of brick, render or stone. Flat-fronted plaster looks flat under it; a rough stone boundary wall looks sculptural. A shrouded box light does something quieter, washing a tight pool by the door. A lantern shape scatters light in every direction and reads more traditional.
Think about what your wall wants to say. A crisp contemporary render usually suits a linear up-down, and where you want that twin-beam graze across textured masonry, a fitting such as the Rex Up Down Outdoor Wall Light in Grey is closer to the right design language than a diffused lantern. A period brick terrace often takes a lantern more happily. If you have handsome stonework, treat it the way we treat alabaster indoors: light it so the material does the work, rather than flooding it until the texture flattens out.
Solar Versus Wired Outdoors: The Honest Trade-off
solar outdoor wall lights are appealing because there is no cable to run and no circuit to add. That convenience is real. The catch is equally real: a British winter delivers short days and weak, low-angle sun, so a panel that charges beautifully in July can struggle to hold a useful charge through a grey January. Output dims as the battery ages, too.
My honest steer is to use solar where the stakes are low: a side return, a shed wall, a bin store, a garden boundary you only glance at. For the front door, the steps and anything you rely on for safe footing, wired wins. Wired fittings give you consistent brightness, the option to dim, and a lifespan that does not hinge on battery chemistry. If you like the idea of contemporary outdoor wall lights that look sharp all year, wiring is the surer route.
Contemporary Finishes and How They Actually Age by a Wet Wall
Finish is where good intentions meet real weather. A graphite or matt black powder-coat looks smart and hides water marks well, but the coating is only as good as the metal beneath and the seal around fixings. Once moisture gets under a chip, corrosion creeps. Where you want that discreet dark finish on a sheltered wall, an IP44 fitting such as the Outdoor Wall Light in Graphite gives you the smart look without over-specifying for exposure it will never see. Brass and bronze behave differently again: unlacquered brass will patinate to a soft brown outdoors, which some buyers love and some do not, so decide before you buy rather than after.
Coastal buyers should be honest about salt. Salt-laden air is brutal on cheaper coatings and on the fixings especially. If you are within a mile of the sea, prioritise marine-grade stainless fixings and a fitting rated for that exposure. Warm neutral tones like coffee, brown and grey tend to sit more kindly against natural stone and brick than a cold white would; something like the Outdoor Wall Light in Brown reads more sympathetically against warm masonry than a stark white body. That is the same logic we use choosing metal detailing for our alabaster pieces indoors, where the stone and the brass need to belong together rather than compete.
Doorways, Paths and Boundaries: Where to Mount Without the Glare
Placement is a craft, and glare is the usual failure. The rule I give clients is simple: you should see the light the fitting casts, not the lamp itself. That means aiming for a mounting height around eye level and shielding the source with the fitting body.
- Front door: a single fitting to the lock side, or a matched pair either side of the frame for symmetry. Pairs suit wider, formal facades.
- Paths and steps: low, shielded light that lands on the ground plane. Never point a bright lamp back toward the person walking in.
- Boundary and garden walls: up-down grazers spaced evenly to build rhythm, or a wider wash if you want a soft backdrop.
- Side passages: one warm, modest fitting beats two bright ones. Restraint reads as expensive.
Warm colour temperature matters outside as much as in. Aim for around 2700K. Anything cooler makes a home look like a car park. The International Dark-Sky Association also makes a strong case for shielded, downward fittings to cut light spill into the night sky and your neighbour's window, which is good manners and good design at once.
IP Ratings Decoded: What Number You Genuinely Need Where
The IP rating tells you how well a fitting resists solids and water, and it is stamped on nearly every outdoor product for a reason. The first digit covers dust; the second covers water. For outdoor wall lights the second digit is the one to read closely.
- IP44: protected against splashing water from any direction. Fine for most walls under some shelter, such as beneath a soffit or a small canopy.
- IP54 to IP55: handles heavier splashing and low-pressure jets. A sensible step up for exposed walls facing prevailing weather.
- IP65 and above: protected against water jets. Choose this for fully exposed positions, coastal sites, or anywhere hit by driving rain.
You do not always need the highest number, and paying for IP65 on a sheltered porch is money that could go into a better finish. Match the rating to the exposure. The IEC's own explanation of the IP system is worth a read if you want the exact definitions rather than a shop's paraphrase.
Sizing and Height: The Numbers Worth Remembering
Two questions come up constantly. How big should outdoor wall lights be, and how high should they sit?
On size, scale to the wall and the door, not to the box it arrives in. A fitting that looks generous on a showroom shelf can vanish against a double-fronted facade. As a rough guide, a fitting flanking a front door often reads well at around a quarter to a third of the door's height. Larger walls and grander entrances can carry taller fittings; a modest side door wants something restrained.
On height, aim to centre the fitting near 66 to 72 inches (1.7 to 1.8 m) from the ground for a typical entrance. That keeps the lamp near eye level so a shielded body blocks direct glare, and it throws light usefully onto steps and thresholds. Mount too high and you get a lonely bright disc; too low and it feels like emergency lighting.
Why This Is the Job to Hand a Qualified Electrician
People ask how to install outdoor wall lights, and specifically how to install an outdoor light on a brick wall. The honest answer is that the drilling is the easy part; the wiring is not. Outdoor electrics involve weatherproof glands, correct cable routing, proper earthing and RCD protection, all of which sit under Part P of the Building Regulations in England and Wales. This is work for a qualified, registered electrician, full stop.
What you can usefully do yourself is the planning. Decide positions, mark heights, check the wall for existing cable runs and pipework before anyone drills, and choose fittings that match your exposure and finish. On brick, fixings should land in the brick body rather than the mortar joint wherever possible, using suitable outdoor-rated wall plugs. Then let your electrician handle the connection, the sealing and the testing. For general electrical-safety guidance around the home, Electrical Safety First is a sound reference.
A Quick Buyer's Checklist
- Decide the effect first: up-down graze, soft wash, or all-round lantern.
- Choose wired for anything safety-critical; keep solar for low-traffic corners.
- Match the IP rating to real exposure, not the highest number on the shelf.
- Pick a finish that suits your wall and your climate, salt included.
- Size to the door and facade; mount near eye level to kill glare.
- Book a qualified electrician before you buy anything hard-wired.
If you want to see how warm, well-controlled light behaves across a range of fittings before you commit outside, it is worth browsing the wider niori lighting collection to train your eye on beam quality and finish. The instincts that make an interior glow are the same ones that make a facade look considered after dark.