Introduction
Picture lights are a fantastic way to enhance the beauty of your artwork while adding functional lighting to your home or office. No matter if you have a cherished painting or a beautiful photograph, picture lights can highlight your art in a way that standard lighting cannot. In this step-by-step guide, we’ll show you how to properly install picture lighting, ensuring that your artwork is illuminated effectively and beautifully. From choosing the right fixture to maintaining it over time, this guide covers everything you need to know about art lighting.
Proper picture lighting is not only a design choice but also improves the overall ambiance of a room, helping to create a focal point around your art.

Why Use Picture Lights
Using picture lights offers several advantages over traditional lighting methods. Here's why you should consider adding art lighting to your artwork:
- Enhanced Visibility: Picture lights ensure that your artwork is displayed at its best. The focused lighting helps to bring out details that could be hidden in a room’s ambient light.
- Aesthetic Appeal: Proper lighting can change the entire vibe of a room. Picture lighting enhances the texture, colour, and dimension of your artwork, creating a professional and polished look.
- Energy-Efficient Options: LED picture lights are energy-efficient, lasting longer and using less power compared to traditional bulbs. They also provide high-quality light that won’t damage artwork over time, unlike older incandescent bulbs that generate heat.
- Prevent Glare and Shadows: Correct placement of picture lighting minimizes glare and shadows that can obscure your artwork’s visual appeal.

Choosing the Right Picture Light
Selecting the right picture light fixture for your artwork can be a bit tricky, but here are some key considerations to help you make the best choice:
- Size of the Artwork: Choose a picture light fixture that fits the size of your artwork. Larger pieces require wider fixtures with multiple bulbs, while smaller pieces can be highlighted with more compact lights.
- Style of the Fixture: There are various picture light styles to choose from, such as wall-mounted picture lights, adjustable picture lighting, and battery-operated. The style of the fixture should complement the room's decor and the artwork itself.
- Material: Picture lighting comes in different materials, including brass, chrome, and matte finishes. Choose a material that complements the frame of your artwork and the overall room design.
- Adjustability: If you want more control over the direction of the light, opt for adjustable picture lighting. These fixtures allow you to direct the light exactly where it’s needed, which is especially useful for larger or multi-piece displays.
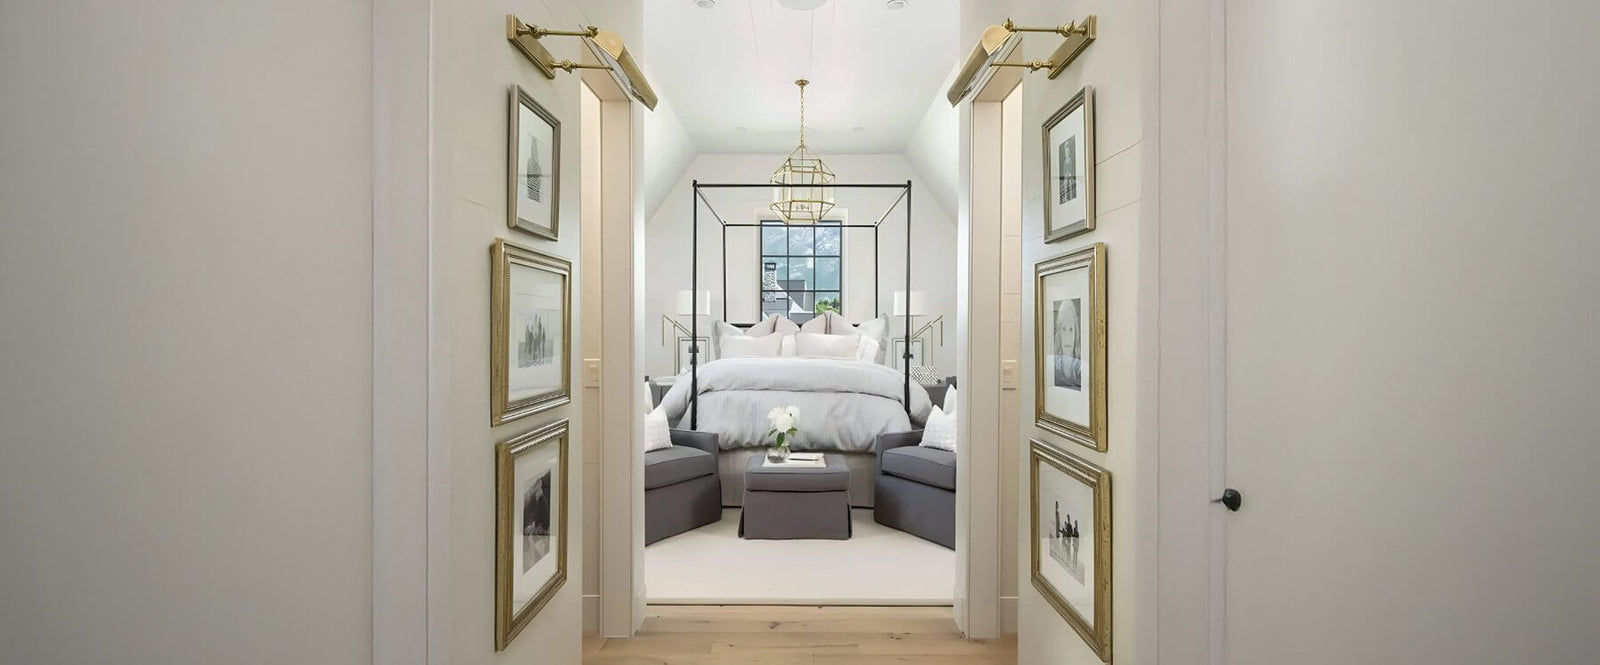
- Positioning: Proper placement of the light is key to preventing glare or shadowing. The light should be positioned about 3-5 inches above the artwork, angled downward to evenly illuminate the piece without casting harsh shadows.
![]()
Tools and Materials Needed for Installation
Before beginning the installation of your picture lights, ensure you have the following tools and materials:
- Tools:
- Drill
- Screwdriver
- Measuring tape
- Level
- Pencil or marker for marking placement
- Materials:
- Mounting brackets
- Screws and anchors (for secure installation)
- Picture light fixture
- Wiring tools if connecting to a power source
With these tools, you'll be ready to get started on your picture lighting installation.

Step-by-Step Guide to Installing Picture Lights
Follow these steps to successfully install your picture lights:
Step 1: Choose the Right Location
Decide where you want to place your picture light relative to the artwork. Typically, picture lighting are installed directly above the artwork, ensuring that the light falls evenly over the entire surface. For larger pieces, you may need to place the light slightly off-centre or use multi-light lighting to cover more area.
Step 2: Measure and Mark the Position
Using a measuring tape, measure the distance between the ceiling and the top of the artwork. This will help you determine the ideal placement for the fixture. Mark the points where you will install the mounting brackets. Be sure to check for alignment to ensure the light will illuminate the artwork evenly.
Step 3: Install the Mounting Bracket
Secure the mounting bracket to the wall, following the instructions provided with your picture light fixture. Use a drill to insert screws into the pre-marked holes. Ensure the bracket is level to prevent any slanting of the light fixture.
Step 4: Wire the Picture Light
If your picture light is not battery-operated, you’ll need to wire it into your home’s electrical system. Carefully follow the instructions to connect the wiring to the power source. Ensure the power is off before making any connections.
Step 5: Attach the Light Fixture
Once the mounting bracket is securely in place, attach the picture light fixture to the bracket. Tighten any screws to ensure the fixture is securely attached.
Step 6: Test the Light
Turn on the power to test the light. Ensure the light is illuminating your artwork as intended, with no glare or shadows. Adjust the light’s angle if necessary to ensure optimal illumination.

Common Installation Mistakes to Avoid
While installing picture lights, avoid these common mistakes:
- Incorrect Light Placement: Ensure that the light is positioned at the right distance from the artwork to avoid glare. Too close, and the light may be too intense; too far, and it won’t properly illuminate the artwork.
- Improper Wiring: If you’re installing wired lighting, be sure to follow all wiring instructions carefully to avoid electrical issues.
- Excessive Brightness: Too much light can overpower the artwork. Opt for dimmable picture lights to adjust the brightness according to your needs.
Maintaining and Caring for Your Picture Lights
To keep your picture lighting in optimal condition, follow these simple maintenance tips:
- Clean the Fixtures: Dust the fixture regularly with a soft cloth to prevent build-up that can diminish the light output.
- Replace Bulbs: If your LED picture light bulbs are burnt out, replace them with energy-efficient LED bulbs to maintain the quality of the light.
- Adjust Brightness: For dimmable picture lights, periodically adjust the light level based on your room’s lighting needs and to prevent strain on the eyes.

Conclusion
Proper artwork lighting is crucial for highlighting the beauty of your art and enhancing the overall atmosphere of a room. By following this step-by-step guide, you can easily install lighting fixtures designed to illuminate your artwork, improving its visual impact. From selecting the ideal light fixture to ensuring proper installation and maintenance, the right lighting can dramatically change how your pieces are showcased.