

Most people buy bathroom downlights ip65 because the box says IP65, then wonder why the fitting above the shower still fogs up by its first winter. The rating is doing exactly what it promised. The problem is that the rating was never the whole brief. IP65 tells you how a fitting copes with jets of water and dust from the front face. It says almost nothing about heat, steam behind the ceiling, beam quality, or whether the light will flatter your tile or turn it the color of wet cement.
At Niori we build our name on alabaster and natural-stone lighting, where the quality of the glow matters as much as the fixture. That same instinct applies to a humble recessed downlight. Good bathroom downlights ip65 get the rating right, then get everything the rating ignores right too.
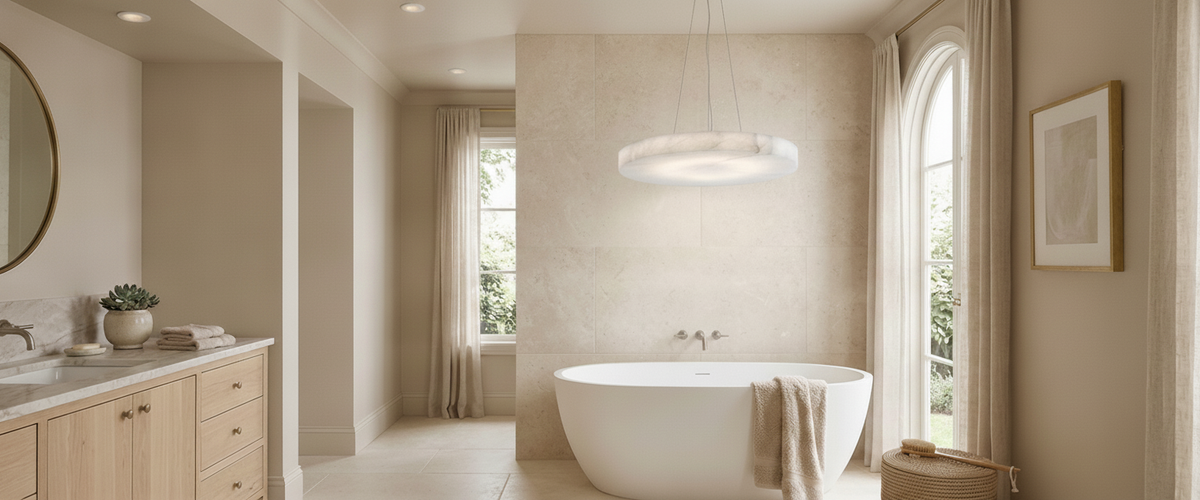
An even run of sealed downlights keeps a bathroom ceiling looking considered rather than patchy.

Key Takeaways
IP65 protects the front face against dust and low-pressure water jets. It is the sensible baseline for most bathroom downlights ip65 on a bathroom ceiling.
Steam, not splash, is the quiet killer. Warm moist air rising into the ceiling void is what corrodes cheap fittings.
Zone matters. Directly above a shower or bath usually wants a fitting rated for that zone; the wider room is more forgiving.
Beam spread and color temperature decide whether your tile and skin look good or clinical.
Always use a qualified electrician for bathroom wiring. This is not a weekend job.

What IP65 Actually Protects Against
The two digits after IP are not marketing. The first digit covers solid objects and dust; the second covers water. In IP65, the 6 means fully dust-tight and the 5 means protected against water jets from any direction. The IEC standard behind the IP system, IEC 60529, defines each test precisely, right down to nozzle diameter and water pressure, which is why a genuine rating on any bathroom downlights ip65 means something (IEC 60529).
Here is where the rating stops mattering. IP65 describes the sealed front lens facing down into the room. It does not describe the back of the fitting sitting in your ceiling void, and it does not account for heat build-up or long-term steam exposure. A downlight can be genuinely rated to this standard and still be a poor choice for a small, badly ventilated bathroom if the driver and housing are not built for the moisture that collects above the plasterboard.

Zone 1 Versus Zone 2: Which Downlights Belong Above the Shower
Bathrooms are split into zones based on how close a fitting sits to water. Zone 1 covers the area directly above a bath or inside a shower enclosure, up to 2.25 meters. Zone 2 stretches 0.6 meters beyond that, plus the space above a basin. Outside those zones you have more freedom, though bathrooms stay humid throughout.
For ceilings directly over a shower or bath, choose a downlight rated for the moisture and any low-pressure spray that reaches it; sealed bathroom downlights ip65 comfortably cover Zone 1 and Zone 2 in most domestic layouts. For the wider room, a lower rating can be permissible, but there is a simpler discipline: specify these ip65 downlights for the bathroom across the whole ceiling. You remove the guesswork, you keep the ceiling looking uniform, and you future-proof against a shower head that gets swapped for a bigger one.
The regulations that govern all of this sit in the wiring standard commonly known as BS 7671, and interpreting them for your exact room is an electrician's job, not a shopping decision. Buy the bathroom downlights ip65; let a professional confirm placement and circuit protection.
Steam Is the Real Test, Not Splash
Steam, not splash, is what quietly corrodes fittings from inside the ceiling void.
A downlight above a basin rarely gets hit by a jet of water. What it lives with, every single day, is steam. Warm humid air rises, finds the small gaps around a recessed fitting, and condenses on the cooler metal and electronics inside the ceiling void. Over months, that cycle corrodes contacts, clouds lenses from the inside, and shortens driver life.
This is the failure we hear about most from clients who bought on rating alone. One customer refitting a compact ensuite in a Victorian terrace had lost two living-room-grade downlights to internal fogging within a year. The replacement bathroom downlights ip65 were sealed to the same standard with a protected rear housing and a properly ventilated void above, and three years on they are still clear. The lesson is that the rating on the box only helps if the fitting is engineered as a whole and the room can shed moisture. Good extraction does more for downlight longevity than an extra IP point ever will.
Beam Spread and Colour Temperature That Flatter Tile and Skin
Rating handles safety. Beam and color handle whether you actually like being in the room. A narrow beam of around 24 to 36 degrees throws a tight pool of light and creates drama on a feature wall or a run of textured stone tile. A wider beam of 60 degrees or more washes the room evenly and is kinder for general lighting. Most bathrooms want a mix: wider fittings for ambient cover, a couple of tighter beams to pick out a vanity or a niche. When you want to aim light onto a specific feature rather than straight down, an adjustable head such as the Play Adjustable Recessed Downlight 13W 4000K lets you tilt the beam toward tile or a niche instead of relying on placement alone.
Color temperature is where a lot of bathrooms go wrong. Anything at 5000K or above reads blue and clinical; skin looks tired and stone looks gray. For a bathroom you relax in, aim for 2700K to 3000K, a warm white that keeps marble and travertine looking warm rather than washed out. A 4000K neutral white suits a sharp, contemporary tiled scheme or a shaving mirror where you want crisp detail. Pay attention to the color rendering index too. A CRI of 90 or above shows colors honestly, which matters when you are checking make-up or matching warm neutrals in towels.
Recessed bathroom downlights ip65 are the practical workhorses. Where the finish needs to disappear against a dark ceiling or matched cabinetry, a black-trimmed option like the Play Adjustable Recessed Downlight 7W 4000K in black reads far less obtrusively than a bright chrome ring, and its lower wattage suits a tighter ceiling grid. You can compare beam and finish choices across our lighting collection. Where you want the room to feel less like a grid of spotlights, pair those downlights with a soft, diffused source. This is exactly where alabaster earns its place.
Where Alabaster and Stone Fit in a Bathroom Scheme
Downlights give you function. They rarely give you atmosphere on their own, because a ceiling full of recessed points can feel flat and slightly institutional. A single alabaster wall light beside a mirror, or a stone pendant over a freestanding tub, softens the whole room. Alabaster is naturally translucent, so it glows rather than glares, and it throws the kind of warm, veined light that makes a bathroom feel considered rather than merely bright.
Alabaster and marble are porous, so a bathroom piece wants sensible placement away from direct spray and a fitting appropriate to the zone; keep decorative stone in Zone 2 or beyond, and let the sealed bathroom downlights ip65 do the wet work. If you want to see how stone reads under warm light before committing, the alabaster lighting collection shows the veining and glow across different forms.
Spacing Over Baths, Basins, and Walk-In Showers
Even spacing is what separates a professional-looking ceiling from a patchy one. A useful rule of thumb: divide the ceiling height by two to get a sensible gap between downlights. For a standard bathroom ceiling around 2.4 meters, that puts fittings roughly 1.2 meters apart. Adjust for beam angle: wider beams tolerate more space between them, narrow beams need to sit closer or you get scallops of light and dark.
Room by room within the bathroom:
Over a walk-in shower: one central sealed fitting, positioned so the light falls into the enclosure rather than skimming the glass. Aim for even coverage, not a single hard hotspot on the floor.
Over a basin or vanity: avoid a single downlight directly overhead, which casts shadows down the face. Set two fittings slightly forward of the mirror, or better, add wall lights at eye level for shadow-free light.
Over a freestanding bath: resist the urge to grid it. One warmer fitting or a stone pendant reads far more relaxing than four spots staring down.
General circulation: keep a consistent margin from the walls, usually around 0.6 to 0.9 meters, so the perimeter does not fall into gloom.
Fittings That Fog, Corrode, or Flicker Within a Year
The failures cluster into predictable patterns, and most are avoidable at the buying stage when you shop for led bathroom downlights ip65.
Internal fogging: usually a poorly sealed rear housing combined with weak extraction. Fix both, not just one.
Corroded contacts: common in bargain GU10 holders and thin spring clips. Look for corrosion-resistant materials and quality terminals.
Flicker on dimming: the classic mismatch. A cheap LED driver paired with an incompatible dimmer flickers or buzzes. Check the driver's stated dimmer compatibility before you buy the dimmer, not after.
Color drift: low-grade LEDs shift color and dim unevenly as they age. Reputable bathroom ip65 downlights with honest CRI figures hold their color far longer.
On the question of 12V bathroom downlights IP65, low-voltage fittings run from a transformer and can be a sound choice, particularly for tighter zones, because the fitting itself carries reduced voltage. They still need to be genuinely rated to the same standard and correctly zoned, and the transformer must be sited and protected properly. Mains-voltage GU10 fittings are simpler to wire and swap, which is why they dominate most installs. Neither is automatically better; the right answer depends on the room and your electrician's advice.
Buyer's Checklist
Confirm the fitting is genuinely IP65 and suited to the zone above your bath or shower.
Check the rear housing is sealed and your bathroom has working extraction.
Choose beam spread by job: wider for ambient, narrower for features.
Pick 2700K to 3000K for warmth, 4000K for a crisp modern scheme, with CRI 90 or above.
Match LED driver and dimmer explicitly to avoid flicker.
Plan even spacing for your bathroom downlights ip65 and keep them forward of, not directly over, the mirror.
Add one alabaster or stone accent for atmosphere, kept away from direct spray.
Have a qualified electrician confirm zoning, circuit protection and installation.
Buy bathroom downlights ip65 for what they do, then treat everything the rating ignores as the real design work. That is where a bathroom stops looking like a showroom and starts feeling like somewhere you want to be.