Table of Contents
- Introduction
- Quick Summary
- Where Should Outdoor String Lights Go First For Maximum Cosiness?
- How Do I Position Outdoor String Lights So They Feel Warm, Not Harsh?
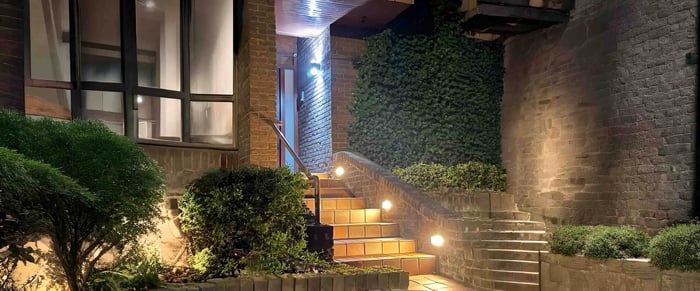
- Which Anchor Points Work Best For Outdoor String Lights In a Real Garden?
- Where Should Outdoor String Lights Go On a Small Patio?
- How Do I Create Cosy “Zones” Using Outdoor String Lights?
- How Do I Hang Outdoor String Lights Without Drilling?
- Step-by-Step: How To Place Outdoor String Lights For a Cosy Garden Layout
- What Helps Outdoor String Lights Last In Rain And Wind?
- How Can Cheap Outdoor String Lights Look Nice?
- What Are The Most Common Placement Mistakes to Avoid?
- Conclusion
- FAQs
Introduction
Outdoor string lights can make a garden feel welcoming the moment the sun goes down, and the biggest improvement usually comes from smart placement rather than a bigger budget. As a Niori lighting specialist, I plan every setup around how you actually use the space where you sit, where you walk, and what you want to notice first. When outdoor string lights are positioned with intention, the whole garden feels warmer, calmer, and more put-together.
This guide focuses on where to place outdoor string lights for the best cosy effect, how to keep them tidy in real weather, and how to hang them neatly even if you’d rather not drill. You’ll learn which anchor points work best, how to avoid glare, and how to create a simple layout that suits a small patio or a larger garden. By the end, you’ll have a clear plan for outdoor string lights that looks deliberate, feels inviting, and holds up well outdoors.
Quick Summary
A cosy garden lighting setup is easiest when you treat it like a simple plan rather than a decoration spree. Start by lighting the main seating area, then add just enough glow to guide movement and gently highlight one feature.
Put outdoor string lights above the place you sit most often so the “warmth” lands where it matters.
Keep bulbs above head height to avoid glare and to make the space feel open.
Use a single clear layout on small patios: canopy, perimeter, or a corner focus.
Support long spans properly so wind and rain don’t stretch the cable and cause sagging.
Protect plugs and joins from standing water; most issues begin at connections.
Add a second, softer layer only if needed too many lines can make a small garden look busy.
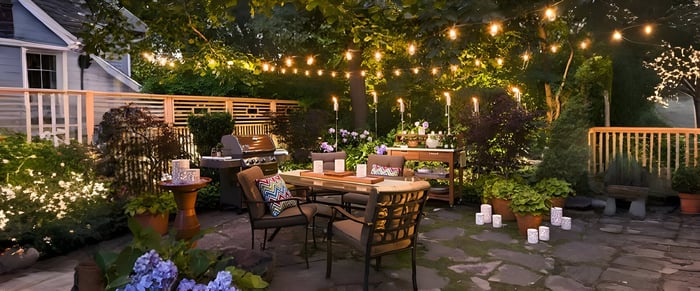
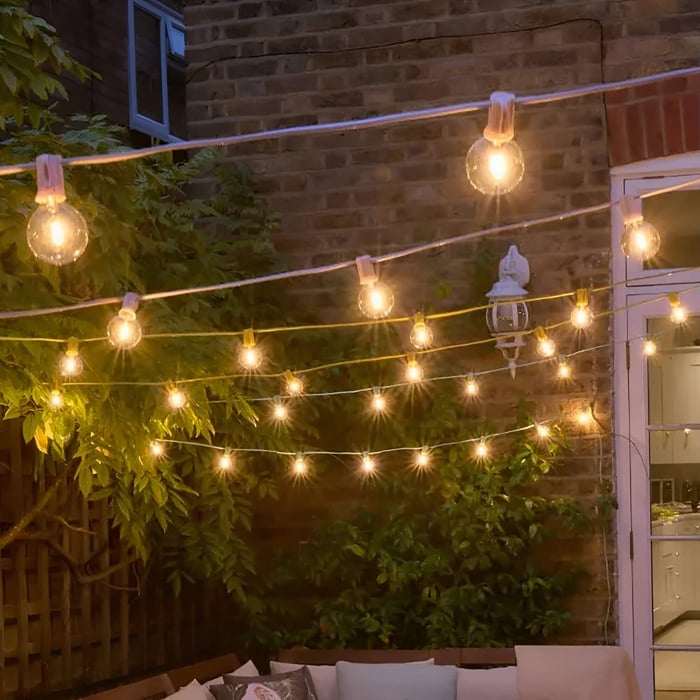
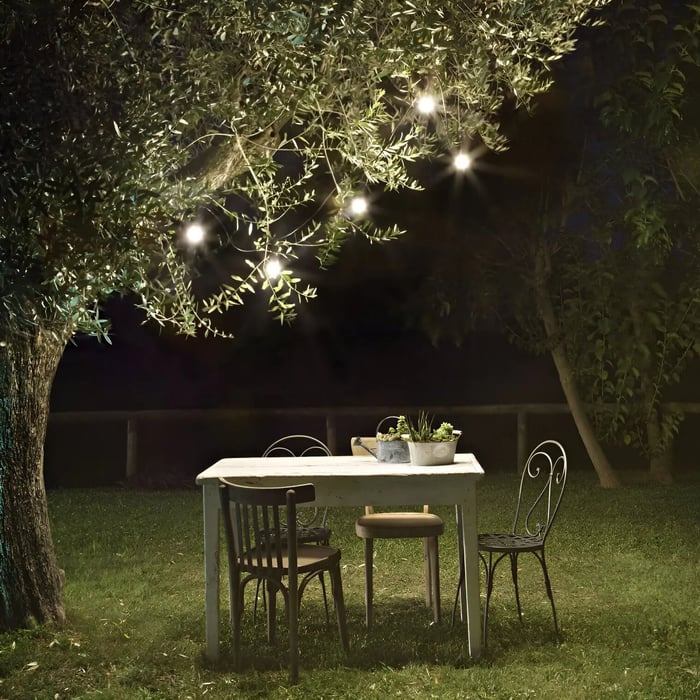
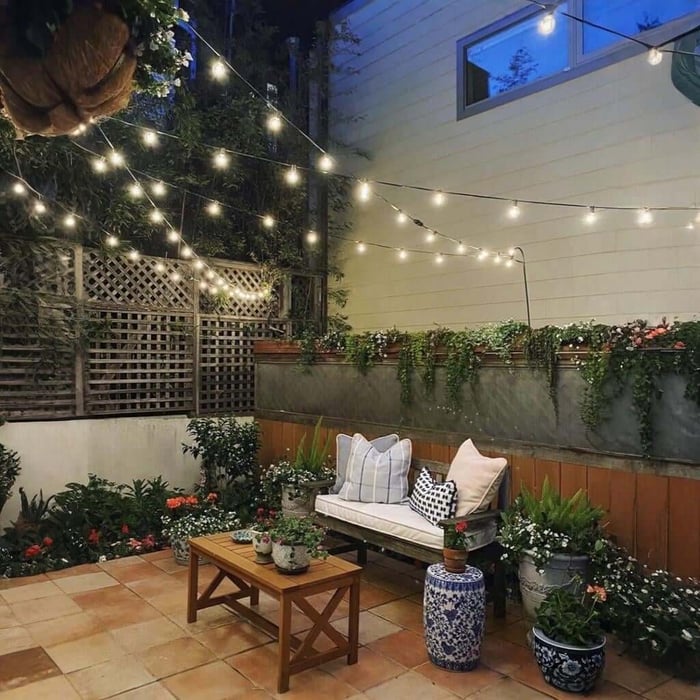
Where Should Outdoor String Lights Go First For Maximum Cosiness?
Good first-choice zones include:
A sofa set, bench nook, or corner chairs
A dining table area
The spot just outside the back door, especially if you step out often in the evening
Under a pergola or gazebo frame
A simple way to check you’re starting in the right place: stand where you’d normally sit, look around, and choose the area you want to feel like an outdoor room. That’s the place to build your lighting first.
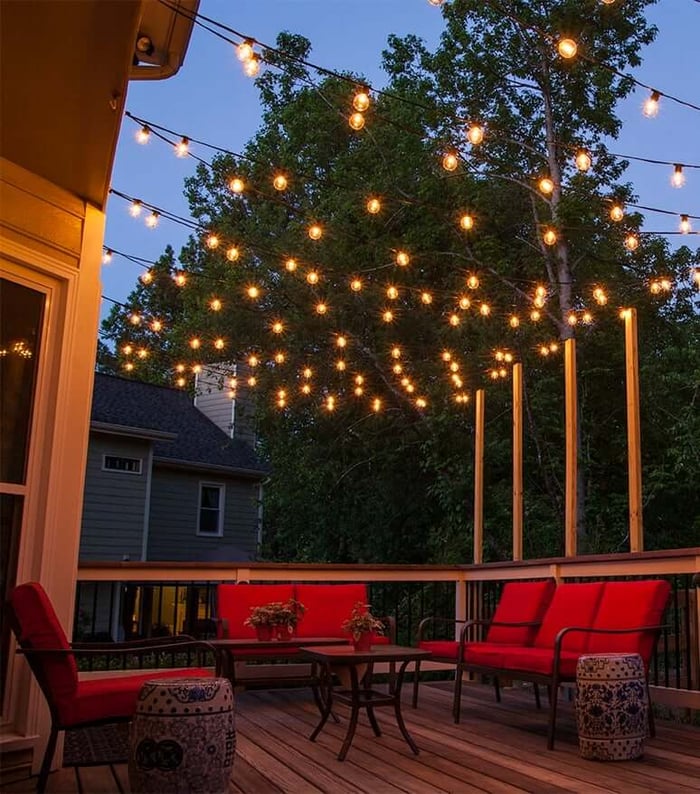
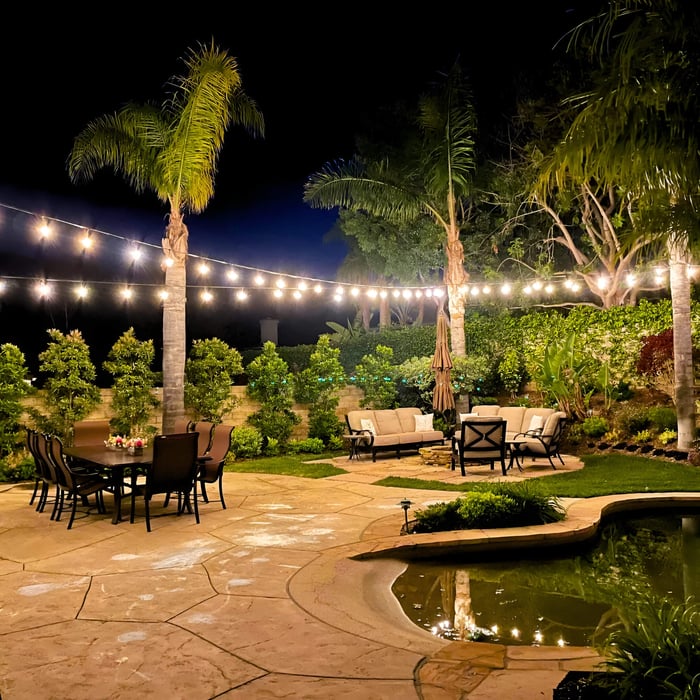
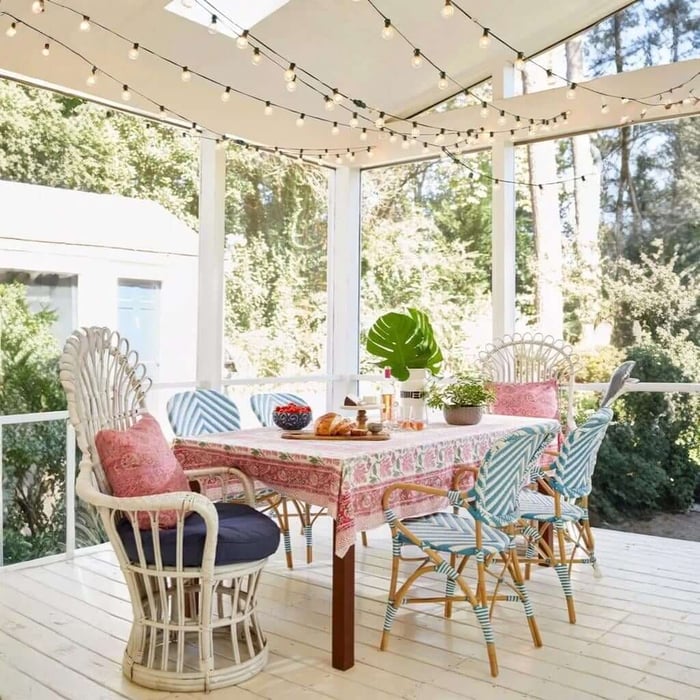
How Do I Position Outdoor String Lights So They Feel Warm, Not Harsh?
Position them so the glow sits around you rather than shining directly at you, because glare is the quickest way to make a garden feel uncomfortable. Warmth comes from soft light, gentle height, and a route that looks deliberate.
For a cosy look:
Choose warm-toned bulbs rather than cool white
Hang the line above head height, particularly over seating and dining
Aim for a gentle swoop, not a deep sag and not a tight, straight line
Avoid placing bulbs where they sit directly in your eyeline when seated
A common mistake is dropping the line too low over a seating set because it “looks nice” in daylight. At night, those bulbs can feel intrusive, especially if they’re clear and bright.
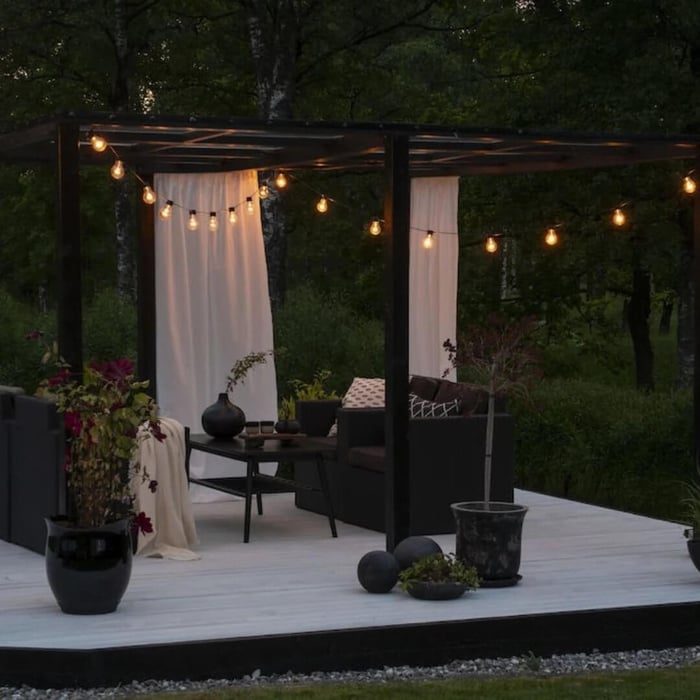
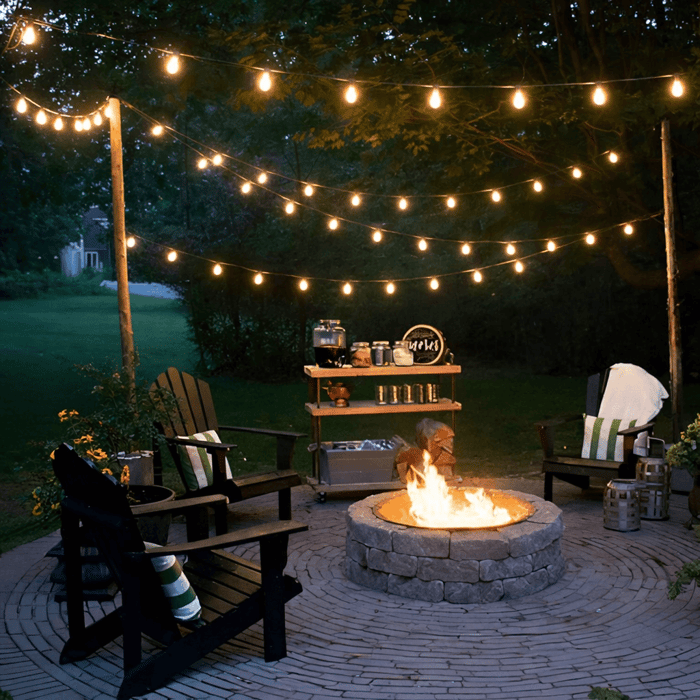
Which Anchor Points Work Best For Outdoor String Lights In a Real Garden?
The best anchor points are sturdy and sensible-looking, because they keep the cable stable and make the route feel intentional. If the anchors wobble, the line will drift, sag, or flap in wind none of which looks cosy.
Reliable anchors include:
Brick walls and solid timber posts
Pergola beams and upright supports
Strong fence posts (not flimsy panels)
Freestanding poles set into heavy planters
Mature trees, only when you attach loosely and avoid tightening around branches
If you’re spanning a wider area, a thin support wire (often called a guide wire) can carry the tension so the light cable doesn’t take all the strain. It’s one of the easiest ways to make a setup look neat for longer.
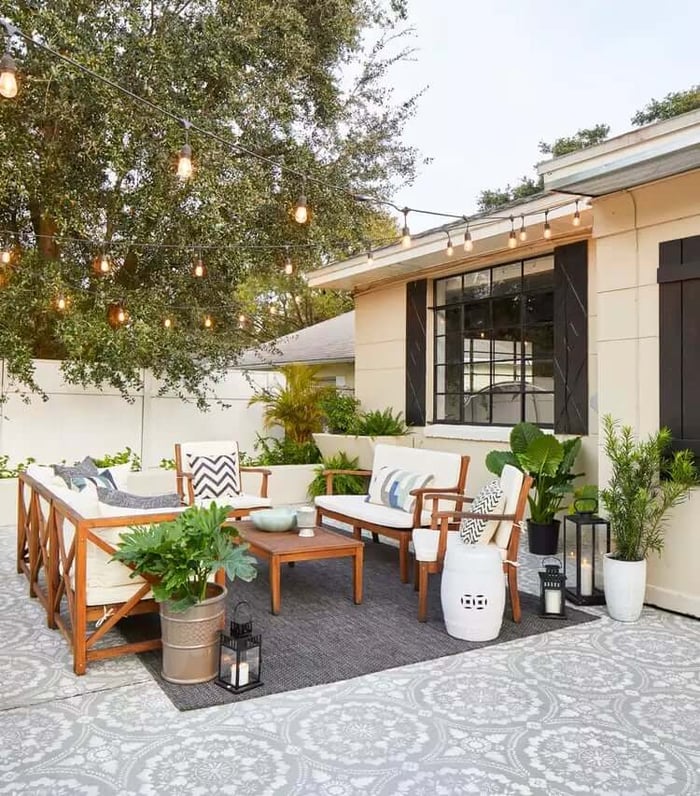
Where Should Outdoor String Lights Go On a Small Patio?
On a small patio, choose one layout that defines the space, because too many lines can make the area feel cluttered. Small spaces look best when the lighting idea is clear and contained.
Three layouts that work consistently well:
Mini canopy: two or three runs overhead from the house to a fence or pole
Perimeter outline: follow the edge of a pergola or the top line of a fence
Corner focus: a V-shape over one seating corner to create a snug nook
Fence-to-wall sweep: one clean diagonal run from a fence post to the house to “pull” the space together
Over-table frame: a short rectangle or U-shape above a bistro table to make dining feel like its own little zone
Doorway glow line: a single run along the area just outside the back door to create a welcoming entry point
If your patio is compact, spacing matters. Fewer bulbs with a warm glow often look more relaxed than a very dense run that turns the whole area into a bright grid.
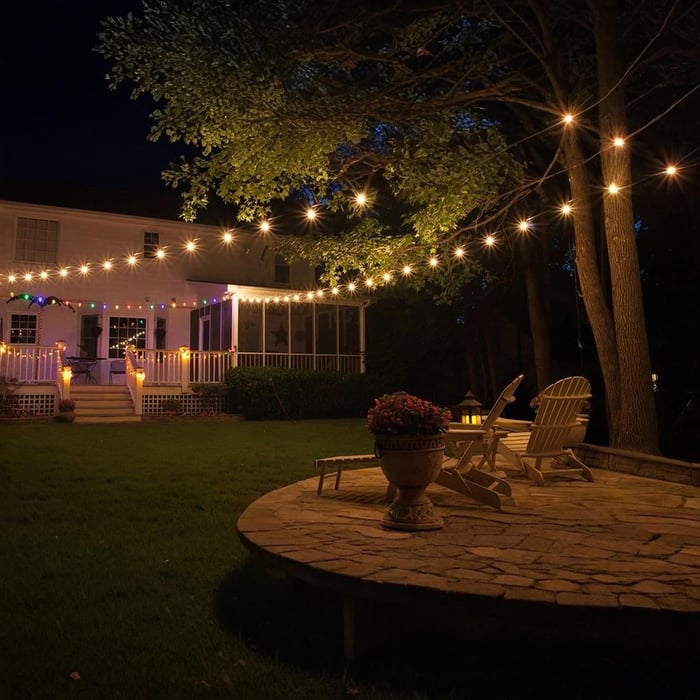
How Do I Create Cosy “Zones” Using Outdoor String Lights?
Create zones by lighting the places you use, because that’s what makes the garden feel designed rather than randomly decorated. A simple three-zone approach keeps things practical and visually calm.
Zone 1: Social glow
Put the main run over seating or dining so faces are softly lit and the area feels welcoming.Zone 2: Gentle guidance
Add a lighter run along a fence line, steps, or the edge of a path so walking routes feel safe without being overlit.Zone 3: A quiet feature
Choose one feature like a planter, small tree, or corner bed and give it a subtle lift so the garden has depth.
If you like seasonal decorating, keep your everyday setup steady and add a separate festive layer with outdoor christmas lights when the time comes, rather than changing your whole layout each year.
How Do I Hang Outdoor String Lights Without Drilling?
You can hang them without drilling by using outdoor-safe clips, hooks, or poles, because many gardens can be lit neatly without permanent holes. The key is planning the route so every section is supported and the cable looks tidy.
No-drill options that work well:
Gutter clips for roofline runs
Outdoor adhesive hooks on smooth, clean surfaces
Fence clips or UV-stable cable ties used at consistent intervals
Freestanding poles in heavy planters
A tensioned support line between poles, then clip the lights onto the line
The neatest no-drill installations usually look “planned” because the fixing points are evenly spaced. Random fixing points tend to create awkward dips and messy cable routing.
Step-by-Step: How To Place Outdoor String Lights For a Cosy Garden Layout
The best results come from a simple plan you can adjust, because most problems happen when people start hanging and only then decide where the lights should go.
Pick the main cosy area
Choose the seating or dining spot you’ll actually use most.Choose one shape
Canopy, perimeter outline, or corner focus keep it simple.Check power and cable paths
Plan where the plug will sit and keep connections away from puddles and splash zones.Measure the route
Add extra length for corners and a gentle drape.Mark anchor points
Make sure they’re solid and visually balanced from where you’ll sit.Add support for longer spans
Use extra clips or a support wire so the cable isn’t carrying all the tension.Hang above head height
Especially over seating. This keeps the glow flattering and avoids glare.Adjust the drape
Aim for a gentle swoop that looks relaxed but not droopy.Test after dark
Sit down, look up, and check you’re not staring straight into bulbs.
What Helps Outdoor String Lights Last In Rain And Wind?
They last longer when they’re outdoor-rated and installed to protect weak points, because most failures start at joins, plugs, and unsupported spans. Weather resistance isn’t just about the product; it’s also about how you install it.
To improve longevity:
Keep plug connections off the ground and protected from pooling water
Support the line regularly so sockets aren’t pulled by the cable’s weight
Avoid tight tension across wide gaps unless you use a support wire
Route cables so water can’t collect at low points near connectors
If you want a “blanket” effect over shrubs or a wide hedge, outdoor net lights can suit that job, while your main seating area keeps a cleaner, more styled run.
How Can Cheap Outdoor String Lights Look Nice?
They look best when the layout is tidy, because the eye notices messy routing before it notices bulb cost. A simple, consistent run of outdoor string lights with even spacing often looks more premium than a complicated layout with uneven dips.
To elevate a budget setup:
Keep to one clear route with a consistent drape
Use enough fixing points so the line looks intentional
Choose warm-toned bulbs for a softer feel
Hide excess cable along fence backs, beams, or behind posts
If you’re comparing ranges, you’ll often see avsl listed among options; whichever set you choose, focus on outdoor suitability and a layout that matches your space.
What Are The Most Common Placement Mistakes to Avoid?
The most common mistakes are hanging too low, over-complicating the layout, and skipping support, because these issues make outdoor string lights look messy and shorten their lifespan.
Avoid these pitfalls:
Bulbs at eye level over seating
Multiple crossing lines in a small area
Long unsupported spans that sag after a few wet weeks
Connectors sitting where water pools
Mixing very different bulb colours in one view
When your lighting route follows the shape of your “evening living space,” the whole garden feels more relaxed and inviting.
Conclusion
Outdoor string lights work best when they’re placed to support how you use the garden: start over seating or dining, keep the bulbs above head height, and choose a simple layout that suits the size of your space. Use strong anchor points, add support for longer spans, and protect connections from standing water to help the setup last through rain and wind. In small patios, one clear shape like a mini canopy or perimeter run creates a cosy outdoor room without visual clutter. With a planned route, tidy fixings, and warm-toned light, outdoor string lights can give your garden a welcoming glow you’ll actually want to spend time in.
FAQs
What height should outdoor string lights be?
A practical target is above head height, often around 2.2-2.7 metres depending on your space. This keeps the glow comfortable and reduces glare. Over dining areas, slightly higher usually feels better.
Should the line be tight or sagging?
A gentle drape looks relaxed and cosy. A tight, straight line can look harsh, while too much sag can look untidy and may collect water in low points. Aim for a consistent swoop across the run.
Can I attach lights to trees?
Yes, but attach loosely and avoid tightening around living branches. Use soft ties and allow movement in wind. Never pierce bark or wrap so tightly that it could damage growth.
How do I stop the cable from drooping?
Use more fixing points and consider a support wire for longer spans. Drooping usually happens when the cable carries too much weight across a wide gap. Regular support keeps the line neat and reduces strain on sockets.
Are solar string lights good for a cosy patio?
They can be great for soft background glow. Brightness can vary after cloudy days and in winter, so they’re less reliable as the main seating light. Many people use solar for accents and mains power for the main zone.
What colour light feels cosiest outdoors?
Warm tones feel the most relaxing and suit greenery, wood, and stone. Cool white can look stark and highlight harsher shadows. If you want a softer look, avoid overly bright bulbs.
Can I hang them without drilling?
Yes gutter clips, adhesive hooks, fence clips, and planter poles can all work. The biggest difference is planning the route so the fixing points are evenly spaced. A tidy no-drill install often looks more deliberate than a rushed drilled one.
Do I need to protect the plug connection?
Yes, because connections are where moisture problems often start. Keep joins off the ground and away from pooling water. A sheltered spot or weatherproof cover can help.
How many strings do I need for a small patio?
Often one set is enough if you choose a clear layout like a mini canopy or perimeter outline. Too many lines can overwhelm a small space. Start with one run and add only if you still have dark patches.
What’s the easiest beginner layout?
A perimeter outline along a fence top or pergola edge is usually the simplest. It’s straightforward to clip in place and looks tidy. Once you like the effect, you can add an overhead canopy for extra warmth.