Table of Contents
- Introduction
- What Are Brick Lights And What Are They Meant To Do?
- Where Should Brick Lights Be Placed For The Most Comfortable Effect?
- What Height Should Brick Lights Be Installed At?
- How Do You Space Brick Lights So The Lighting Looks Even?
- How Can You Avoid Glare With Brick Lights?
- Which Lighting Zones Suit Brick Lights Best?
- Where Should Brick Lights Go On Steps And Stairs?
- How Should You Place Brick Lights Along Paths And Walkways?
- Step-by-Step: How Do You Plan Brick Lights Placement Properly?
- What Common Mistakes Should You Avoid With Brick Lights?
- Quick Summary
- Conclusion
- FAQs
Introduction
Brick lights are a brilliant way to add subtle, practical illumination without turning your home or garden into a spotlight. As a lighting specialist at Niori, I focus on placement that feels calm and comfortable, keeps people safe, and supports the architecture rather than competing with it. Done properly, they guide movement after dark without harsh brightness or visual clutter.
In this guide, I’ll show you how to position low-level lighting so the glow falls exactly where it’s useful and the overall look stays clean and intentional. You’ll learn how to reduce glare, keep spacing consistent, and choose locations that feel natural on paths, steps, and low walls. The aim is balanced, comfortable illumination that quietly improves the way your space works at night.
What Are Brick Lights And What Are They Meant To Do?
Brick lights are low-profile fittings designed to sit neatly within walls, steps, or hard landscaping. Their role is to provide low-level guidance and gentle ambient light, often as part of a layered scheme rather than the main source of brightness. Used well, they create a clean visual line, highlight changes in level, and make spaces easier to navigate after dark.
They are especially useful when you want:
Safer movement along routes and around level changes
A softer atmosphere that doesn’t flatten the space
Lighting that blends into the building fabric
A consistent “rhythm” along a wall, path, or stair run
Where Should Brick Lights Be Placed For The Most Comfortable Effect?
The best placement is where the light can wash across a surface and guide you forward, rather than pointing into anyone’s eyes. In most homes, that means circulation routes and transition points the places you walk through, step up, or approach. Brick lights excel when they quietly support movement and orientation.
The strongest locations tend to be:
Paths and walkways: define edges and direction
Steps and stairs: reduce trip risk by clarifying treads
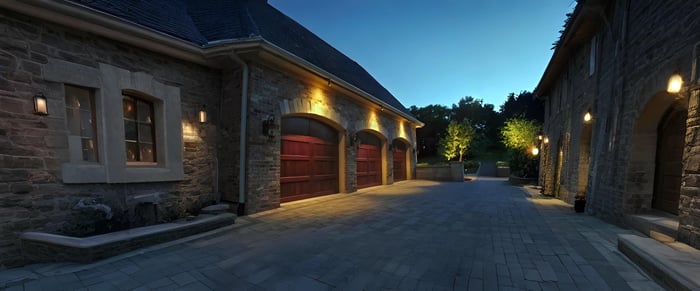
Driveway edges and approach routes: guide without glare
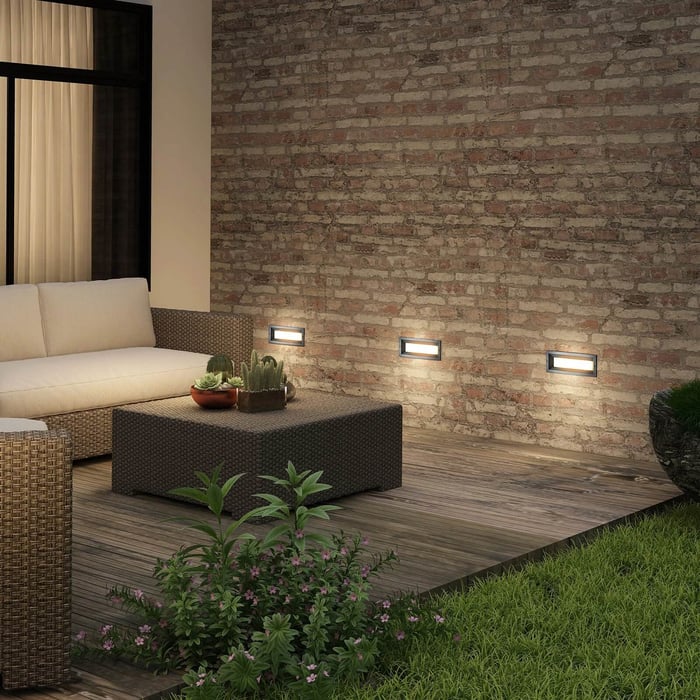
Low retaining walls and raised beds: provide soft perimeter light
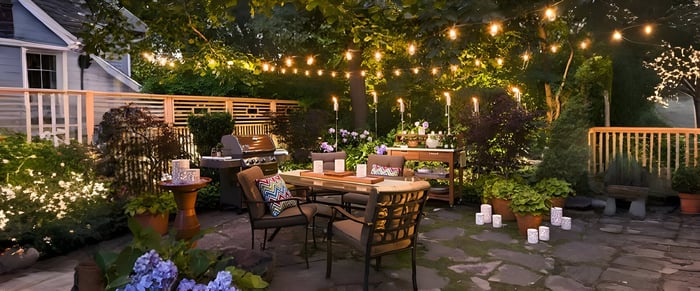
Courtyard boundaries and seating perimeters: create a gentle outline
A simple rule: place them where the light can land on the ground plane or step surface, not where it will meet your eyeline.

What Height Should Brick Lights Be Installed At?
A comfortable height is usually low enough to keep the source out of view, but high enough to spread light where your feet go. As a working guideline, brick lights are typically most successful between 200mm and 400mm above ground level.
Practical placement ranges that work well:
200-250mm: ideal for steps, stair side walls, and tight routes
250-350mm: great for paths and long walkways
350-400mm: useful on retaining walls where you want a wider wash
Too high and the fitting becomes a glare risk. Too low and the beam can feel patchy, especially on uneven surfaces or textured paving.
How Do You Space Brick Lights So The Lighting Looks Even?
Even spacing is less about a fixed measurement and more about how the pools of light overlap. You want a gentle handover from one fitting to the next, without obvious bright dots or dull gaps. For brick lights, spacing depends on beam spread, output, mounting height, and the reflectivity of nearby materials.
Here are dependable starting points:
Paths: around 1.5-2.5 metres apart (closer for narrow or dark routes)
Long walls: align spacing with architectural bays, piers, or brick courses
Steps: often every riser for a crisp look, or every second riser for softer ambience
Real-world tip: pale stone and concrete reflect more, so you can often space fittings slightly wider. Dark brick and timber absorb light, so you may need tighter spacing to maintain comfort and clarity.
How Can You Avoid Glare With Brick Lights?
Glare happens when the light source is visible from common viewpoints or when the beam fires outward rather than down and across. To avoid that, focus on shielding, orientation, and placement relative to where people stand and sit. Well-chosen brick lights should feel calm even when you approach them.
Use these glare controls:
Choose recessed, louvred, or deep-set designs so the LED isn’t exposed
Aim the beam downward or across the ground plane, not straight out
Avoid placing fittings opposite seating or directly facing doors and patios
Keep output modest for comfort; more fittings at lower output often looks better than fewer, brighter ones
Use warm white light (commonly 2700K-3000K) to reduce harshness
If you’re building a scheme that includes brighter features say, a driveway or wider garden reserve higher output for separate fittings, such as flood lights, and keep low-level guidance lighting gentle.
Which Lighting Zones Suit Brick Lights Best?
In the “supporting cast” of a lighting plan, guidance, safety, and subtle ambience play a key role. In layered lighting, you typically have primary light for tasks, secondary light for general ambient use, and accent light for features. Within this structure, brick lights usually sit in the guidance and safety layer, sometimes doubling as low-key ambient light.
They suit zones like:
Wayfinding zones: hallways, side returns, garden paths, access routes
Safety zones: steps, thresholds, ramps, edges of terraces
Perimeter zones: low walls, borders, raised planters, courtyard boundaries
Atmosphere zones: outdoor seating edges and quiet corners where you want a soft outline
What they’re not best for: lighting a whole patio for dining or providing bright security illumination on their own. In those cases, use overhead or directional fittings such as outdoor downlights for a covered area, or carefully aimed outdoor spotlights to pick out features without over-lighting the whole space.
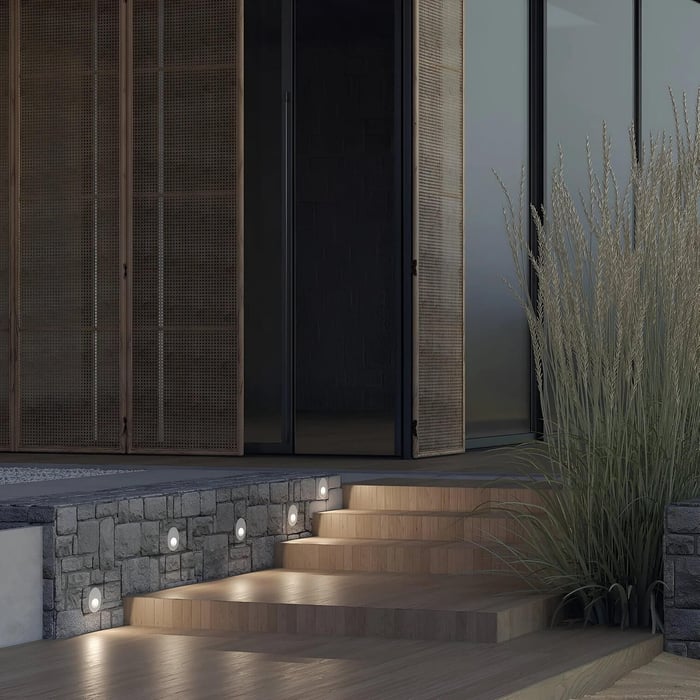
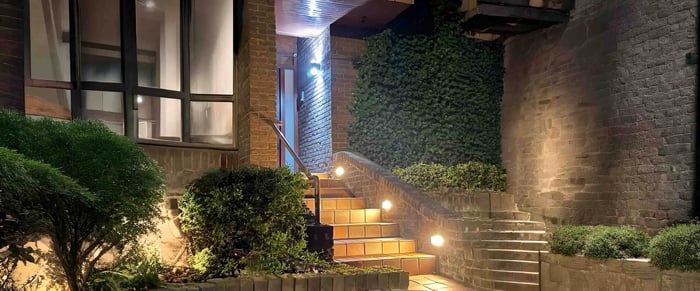
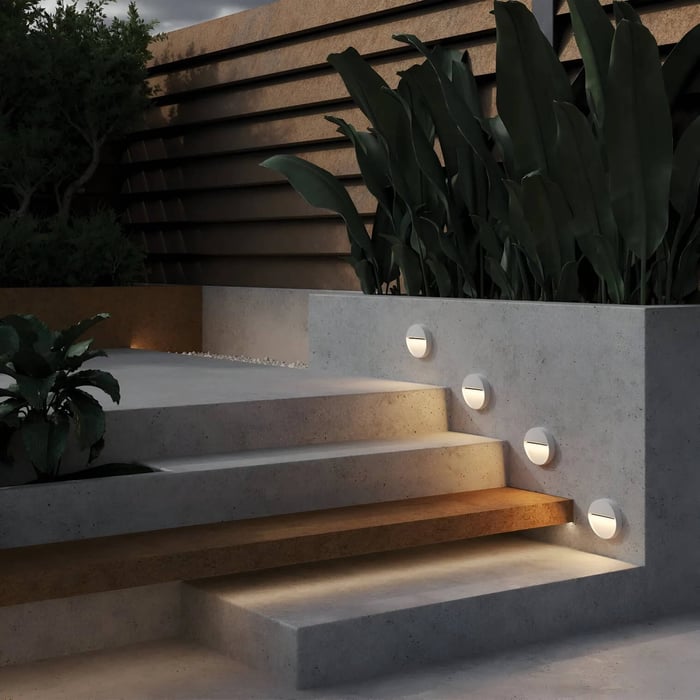
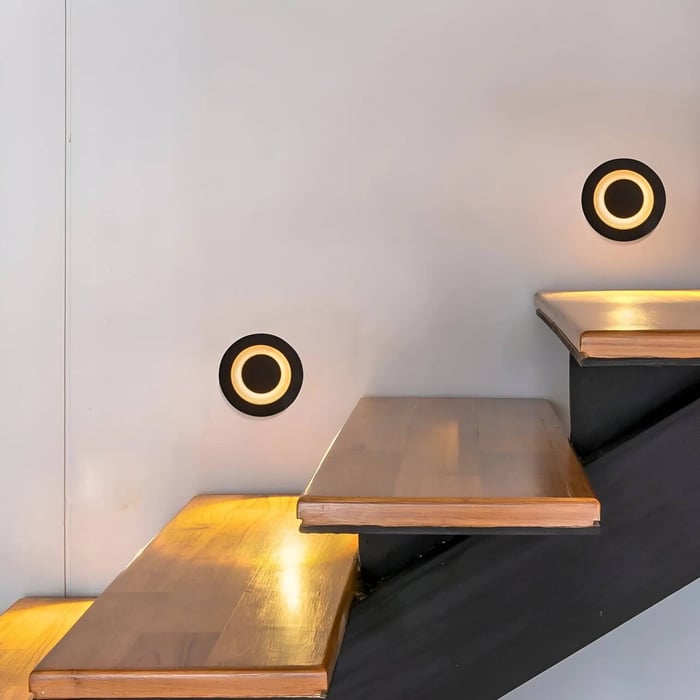
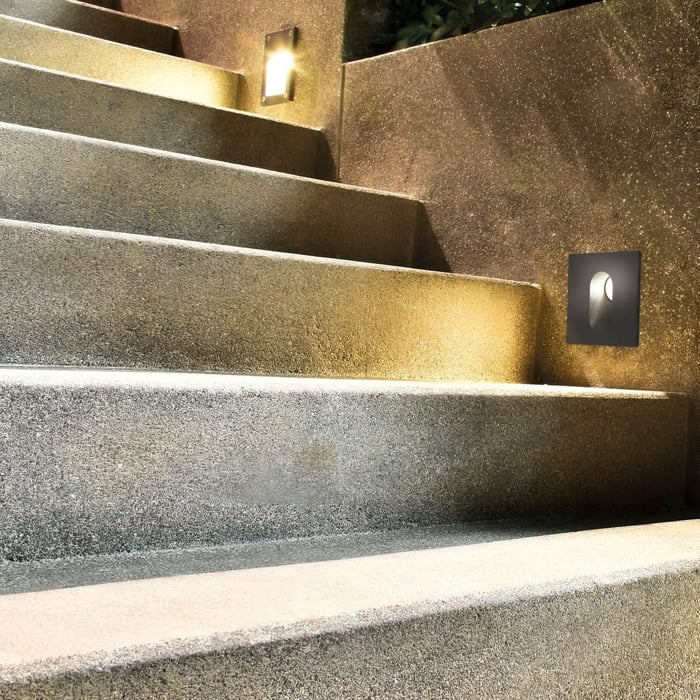
Where Should Brick Lights Go On Steps And Stairs?
The safest and most comfortable approach is to light the tread surface and the route itself, not blast the stair run with visible points of brightness. For brick lights, the most reliable placement is along side walls or adjacent risers so the beam skims across the step surface.
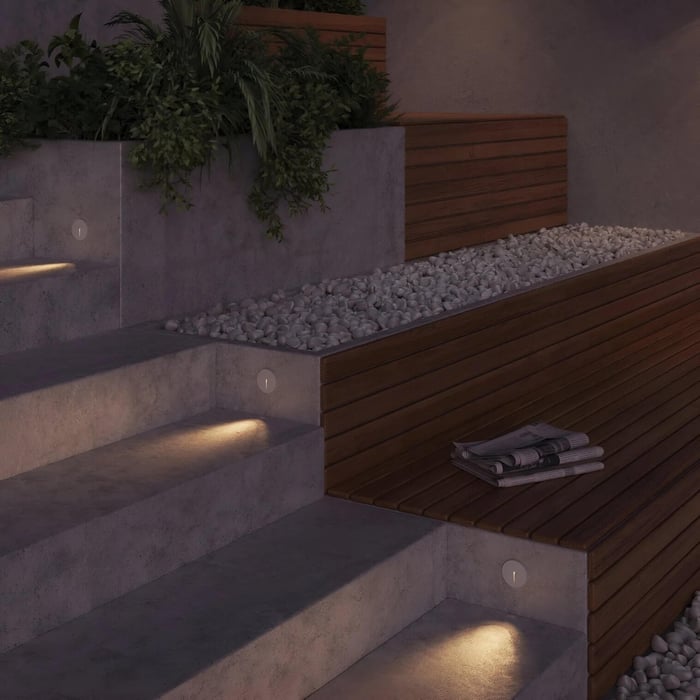
Good options include:
Side-wall mounting: set fittings low on the wall beside the steps so light spills across each tread
Alternating placement: stagger fittings left and right on long stair runs to reduce a “runway” feel
Landing guidance: place a fitting near a change of direction, aimed across the landing surface
Avoid placing lights where they face upward toward someone approaching, especially on mid-landings or at the top of a stair where the viewer is naturally looking forward. If glare is a concern, choose a louvred fitting and keep it at the lower end of the height range.
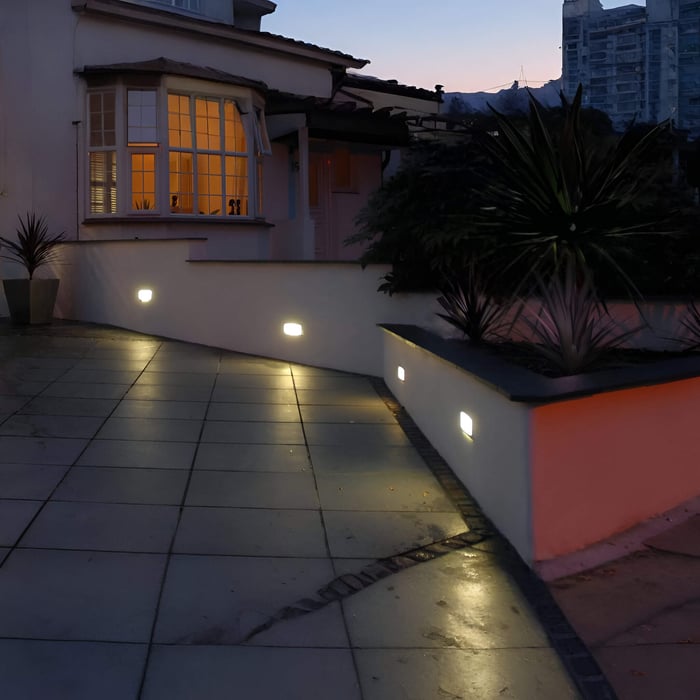
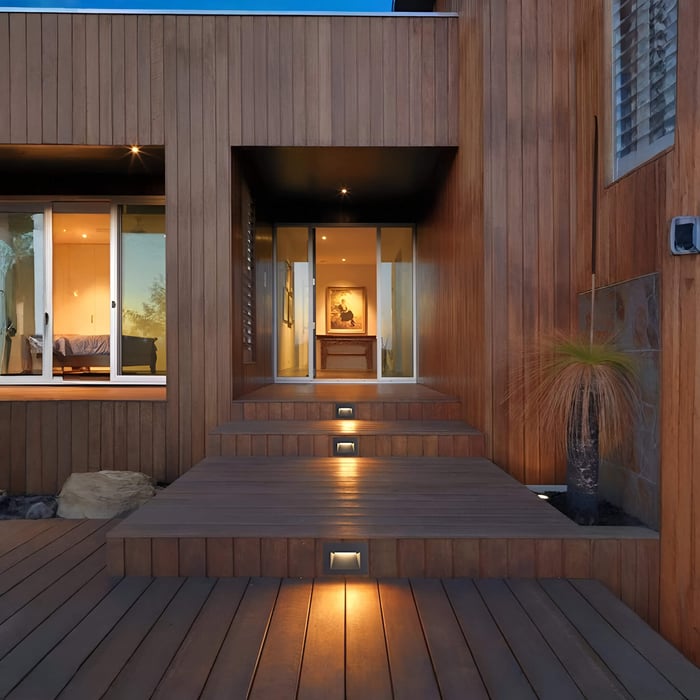
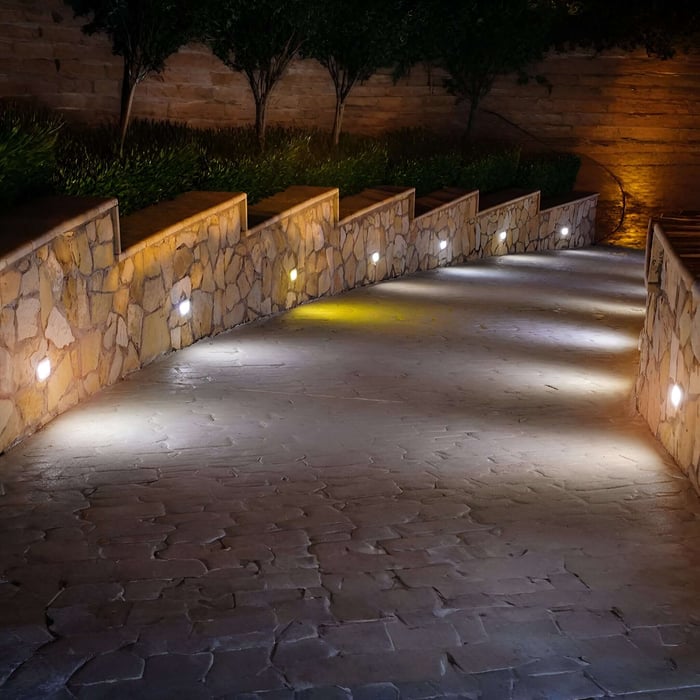
How Should You Place Brick Lights Along Paths And Walkways?
For pathways, comfort comes from consistency. You want the route to read clearly, with light falling slightly ahead of where you’re walking. Brick lights achieve this best when they define the edge, not the centre.
Placement ideas that keep things balanced:
One-side placement: feels natural and understated on informal garden paths
Both-side placement: works well for formal symmetry, but keep brightness lower to avoid “airport runway” vibes
Edge alignment: sit fittings parallel to the path edge so the light washes along the route
Entrance transitions: add a fitting near a gate or turn so people instantly understand the direction of travel
If the path runs alongside planting, keep light aimed onto the surface rather than into foliage. That avoids harsh leaf reflections and helps the route remain the visual priority.
Step-by-Step: How Do You Plan Brick Lights Placement Properly?
A straightforward planning process prevents most of the problems people run into glare, uneven spacing, and lighting that feels randomly dotted around.
Mark the movement routes
Identify paths, steps, entrances, and any level changes. These are your priority areas.Decide the purpose in each area
Is it guidance, safety, or a soft perimeter outline? Be clear, because purpose dictates brightness and spacing.Choose the fitting style for comfort
Pick recessed or louvred options where viewers will see the fitting head-on. For exposed viewpoints, shielding matters more than output.Set mounting height
Start in the 200-400mm range and adjust based on the surface and likely viewing angles.Plan spacing visually
Use your path length or wall run and create a consistent rhythm. Avoid “odd” gaps at the ends sometimes slightly tightening spacing looks more intentional.Check viewpoints
Stand where people will sit, approach, and turn. If you can see the light source, revise the height, recess depth, or orientation.Balance with other layers
Ensure the rest of the scheme supports the low-level glow rather than overpowering it.
For product quality and consistency, it’s worth sticking to a reputable range Knightsbridge is one example of a brand many installers know well for dependable performance and tidy finishes.
What Common Mistakes Should You Avoid With Brick Lights?
Most issues come from treating low-level lighting like a mini floodlights, rather than a comfort-first guidance layer.
Avoid these common pitfalls:
Mounting too high, creating direct glare
Choosing output that’s too bright for the zone
Spacing without a clear rhythm, leading to patchy coverage
Placing fittings directly opposite seating or eye-level sightlines
Mixing colour temperatures across the same route, which looks messy and feels inconsistent
Ignoring surface colour: dark materials need closer spacing or better beam control
A helpful mindset: if the fittings are the first thing you notice, they’re probably doing too much.

Quick Summary
Keep them around 200-400mm high, space them so the pools of light overlap gently, and choose shielded designs to reduce glare. Used as part of a layered plan, they allow other fittings to handle brighter task or feature lighting. With careful placement, brick lights provide balanced, comfortable illumination that feels intentional and effortless.
Conclusion
Good placement means the light lands on the surfaces you walk on, the route feels clear, and you never feel dazzled. Keep fittings around 200-400mm high, aim beams down and across, and space them so the pools of light overlap gently without hotspots. Focus on paths, steps, low walls, and other level changes for guidance and safety, then add stronger lighting only where it’s genuinely needed. Done properly, brick lights blend into the background while making the whole space more comfortable, polished, and easy to use after dark.
FAQs
How many brick lights do I need for a garden path?
It depends on the path length, surface colour, and beam spread. As a guide, start with lights every 1.5-2.5 metres and adjust so there are no obvious dark gaps.
Can brick lights be used as the main light source outdoors?
They’re better as guidance and ambience rather than primary lighting. Pair them with other fittings for dining, security, or wider area illumination.
What colour temperature is best for brick lights?
Warm white (often 2700K-3000K) is usually the most comfortable. It reduces harshness and suits brick, stone, timber, and planting particularly well.
Will brick lights cause glare if they face a patio?
They can, especially if the light source is visible from seating. Use shielded designs and position them so the beam washes the ground rather than projecting outward.
Should brick lights be placed on every step?
Not always. Every step creates a crisp, premium look, while every second step often feels softer and still provides safe guidance.
Are brick lights suitable for driveways?
Yes, they can define edges and entrances nicely. Keep output modest and use them as guidance, not as a substitute for brighter driveway lighting.
Can I install brick lights in a wooden sleeper wall?
You can, but you’ll need the right housing and weather protection. It’s also important to consider heat dissipation and proper sealing to protect the fitting.
What’s better for glare control: louvres or deeper recessing?
Both help, and the best option depends on the fitting design. Deep recessing hides the source, while louvres control the beam and block direct sightlines.
Do brick lights need to be dimmable?
Dimming is a big advantage for comfort and flexibility, especially indoors or near seating. It allows you to tune the level so the scheme feels balanced year-round.
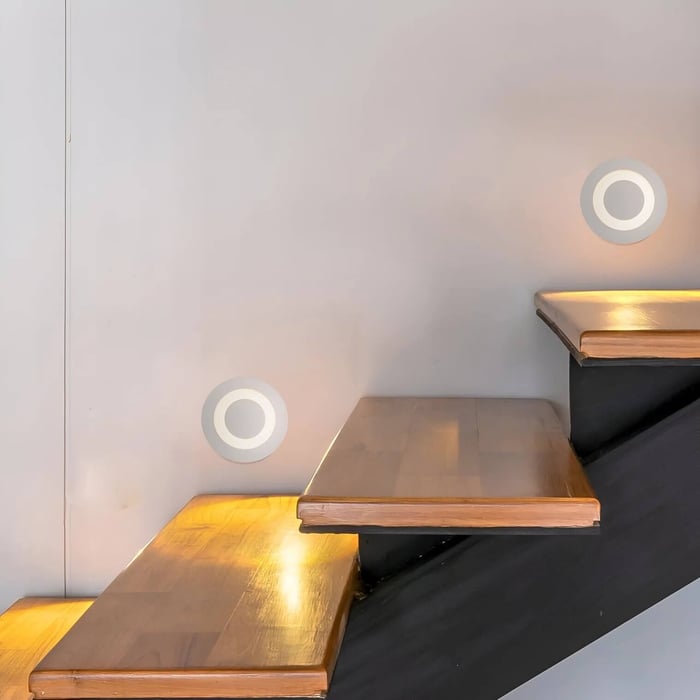
How do I stop brick lights looking like “dots” on a wall?
Use consistent alignment and spacing, and choose output that suits the space. When the light wash overlaps gently, the effect reads as a calm line rather than a row of bright points.