Table of Contents
- Introduction
- Why Bright Bulbs Still Don’t Fix a Dark Kitchen
- Why One Overhead Light Isn’t Enough
- The Kitchen Lights Bulb Mistake Most People Make
- Why Counters Stay Dark Without Under-Cabinet Lights
- Choosing Kitchen Lights That Spread Light Properly
- The Placement Mistake That Leaves Kitchens Dim
- How Dark Surfaces Weaken Kitchen Lights
- Why One Switch Makes Kitchen Lights Feel Dim
- How to Layer Kitchen Lighting the Right Way
- Top Kitchen Lights That Work Best in Dark Spaces
- What to Check Before Choosing Kitchen Lights
- Conclusion
- FAQs
Introduction
A kitchen that still feels dim after you’ve swapped fixtures or bulbs can be frustrating, especially when your kitchen lights should be doing the heavy lifting. You clean the counters, repaint the walls, maybe even open up a window treatment, yet the room stays gloomy. Most of the time, the problem isn’t your kitchen itself. It’s the lighting choices.
This guide walks through the most common mistakes people make when choosing kitchen lights, why those choices leave a kitchen looking darker than it should, and what to do instead. If you want a kitchen that feels clear, open, and easy to work in, start here.
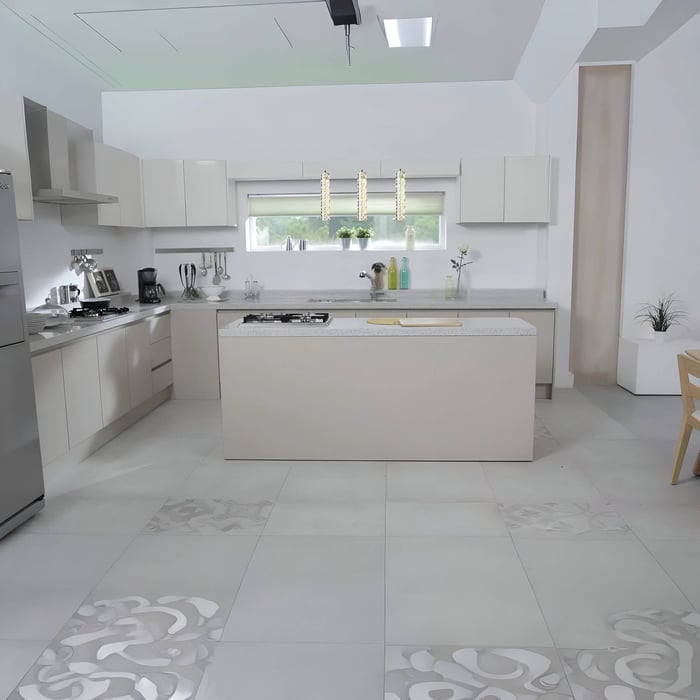
Why Bright Bulbs Still Don’t Fix a Dark Kitchen
A kitchen can still feel dark even if you’re using bright bulbs, because brightness only helps when it reaches the areas you actually use. When light is stuck in one spot or aimed the wrong way, shadows settle under upper cabinets, around the sink, and across your prep counters. Dark corners stay untouched, and the light that does hit surfaces often reflects in a narrow glare instead of spreading through the room. That’s why the kitchen can look dim and uneven even with “strong” lighting.
In most cases, the issue isn’t the space; it’s the way the kitchen lights are planned. People often rely on one ceiling fixture, choose bulbs that are too warm or weak, or skip lighting for work areas. Once those mistakes are corrected with better placement and layered lighting, the room brightens in a way that feels natural and complete.
Why One Overhead Light Isn’t Enough
One overhead fixture in the middle of the room won’t light a kitchen properly. It gives a pool of light in one spot, and the moment you stand at the counter, your body blocks that light and creates shadows where you’re working.
What to do instead
Use multiple ceiling lights spaced across the room.
Add focused light at counters and the sink.
Think in zones, not one source.
Place a brighter fixture over the busiest areas, like the stove or island.
Avoid leaving corners or pantry walls without their own light source.
Even simple upgrades to kitchen lights feel stronger when the light is spread evenly instead of falling in one circle. When the ceiling lighting covers the whole kitchen, you stop getting “dark strips” between fixtures, and your eyes don’t have to adjust as you move around.
Then, once you add task lighting in the zones where you prep and cook, the shadows disappear completely. The kitchen feels clearer, safer, and more comfortable because every area has the light it needs, not just the center of the room.
The Kitchen Lights Bulb Mistake Most People Make
Soft yellow bulbs can feel relaxing in a living room, but in a kitchen, they usually make everything look darker and a bit dull. If your kitchen already lacks sunlight, warm or low-lumen bulbs will only deepen the shadows.
What to do instead
Aim for 3000K to 4000K bulbs.
3000K: warm but clean
4000K: brighter and crisper
Choose higher lumens. For most kitchens, 800-1100 lumens per bulb works well.
Match bulb tone across the kitchen so the light feels even, not patchy.
Use LED bulbs labeled “bright white” or “cool white” for a clearer look.
Good kitchen lights start with the right bulb, not just the right fixture. When the bulb is too warm or too weak, even a stylish light won’t fix the room’s darkness because the output simply isn’t strong or clear enough.
Once you switch to brighter, cleaner bulbs, your counters, cabinets, and backsplash look sharper, and the whole kitchen feels more open. It’s one of the easiest upgrades you can make, and you’ll notice the difference the same day.
Why Counters Stay Dark Without Under-Cabinet Lights
Upper cabinets block the light coming from above, so your counters and sink area end up in shadow even when the ceiling lights are on. Without lighting underneath those cabinets, the most important work zones will always feel darker than the rest of the room.
What to do instead
Install under-cabinet LED strips or puck lights.
Run them across all key prep areas.
Pick dimmable options so you can adjust at night.
Mount the lights closer to the front edge of the cabinet so the beam reaches the full counter, not just the backsplash.
Under-cabinet kitchen lights remove shadows instantly and make countertops safer to use. They put light directly on the surface where you chop, cook, and clean, so you’re not relying on overhead light that gets blocked by cabinets and your own body.
Once these lights are installed, the kitchen feels brighter in a more even, practical way. Your prep areas look clearer, details like your backsplash show up better, and the room stops having that “dark strip” effect along the counters.
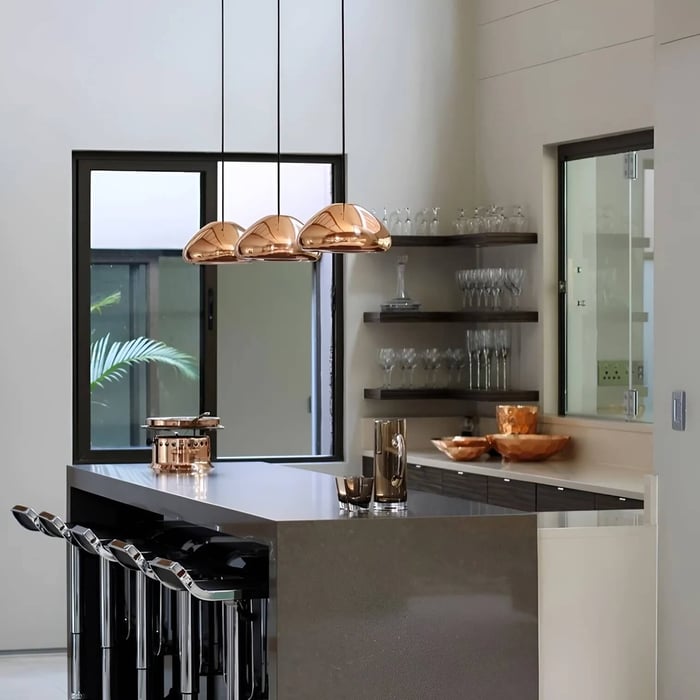
Choosing Kitchen Lights That Spread Light Properly
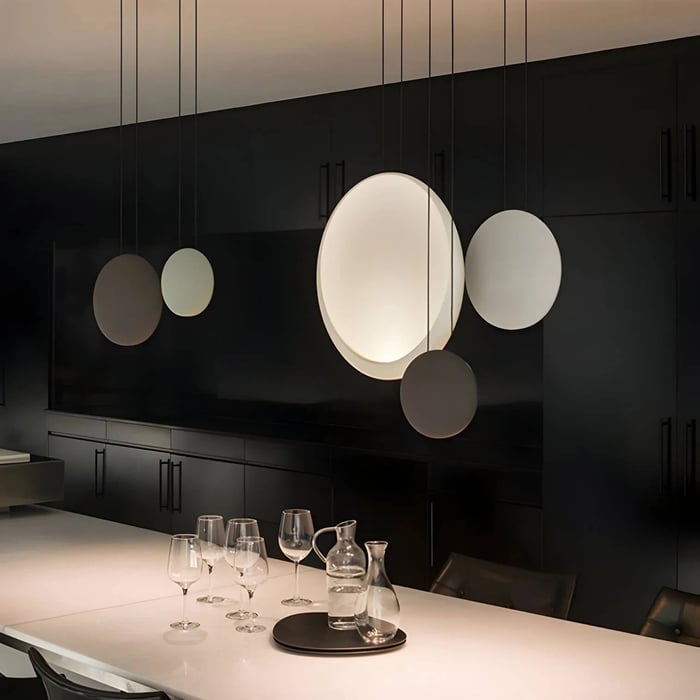
Some shades look great but work against you. Dark metal, thick glass, or narrow openings can choke the light and aim it in the wrong direction. You’ll see this problem in other spaces too, especially with dining room lights that look stylish but don’t spread enough brightness.
What to do instead
Install under-cabinet LED strips or puck lights.
Run them across all key prep areas.
Pick dimmable options so you can adjust at night.
Place lighting toward the front edge of the cabinet so it shines directly onto the counter.
Choose a continuous strip for long counters to avoid dark gaps between lights.
Under-cabinet kitchen lights remove shadows instantly and make countertops safer to use. They shine right where you slice, stir, and clean, so you’re not depending on overhead light that gets blocked or scattered.
Once these lights are in place, the kitchen feels brighter without needing stronger ceiling fixtures. Your counters look clearer, your backsplash pops more, and the whole room feels more balanced because the darkest zone is finally lit properly.
The Placement Mistake That Leaves Kitchens Dim
A bright fixture won’t help much if it’s installed in the wrong spot. When light misses your main work areas, the kitchen still feels dim even though you technically have “enough” lighting.
What to do instead
Put lights where you work: sink, stove, counters, and island.
Space recessed lights about every 4-6 feet.
Add a light over any dark corner or pantry area.
Center ceiling lights over walkways and prep zones so light follows how you move.
Use adjustable fixtures in tricky layouts so you can aim the light exactly where it’s needed.
A smart layout makes kitchen lights feel twice as bright because the light is actually landing where your eyes and hands need it most. Instead of having one bright area and several dim ones, the whole kitchen gets balanced, usable coverage.
When lighting is placed with purpose, shadows stop stacking up in prep zones, corners look less heavy, and the room feels more open. You don’t need more fixtures; you need better placement.
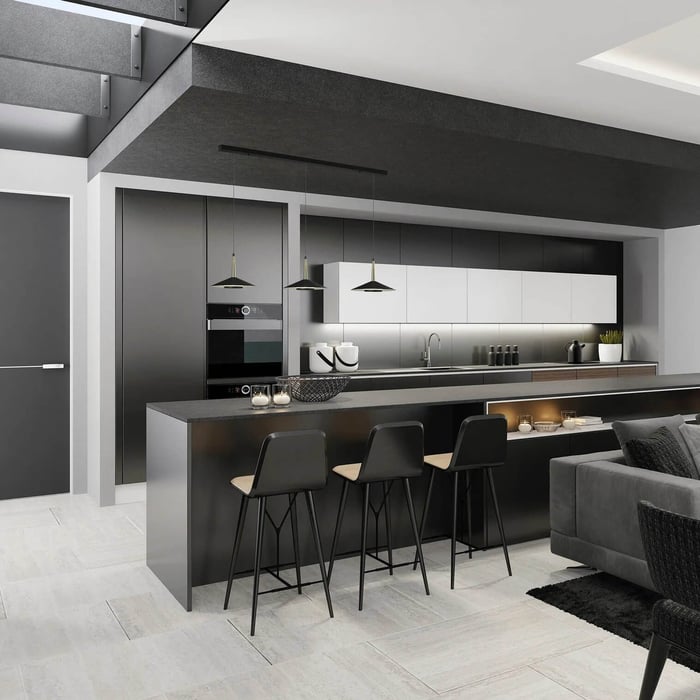
How Dark Surfaces Weaken Kitchen Lights
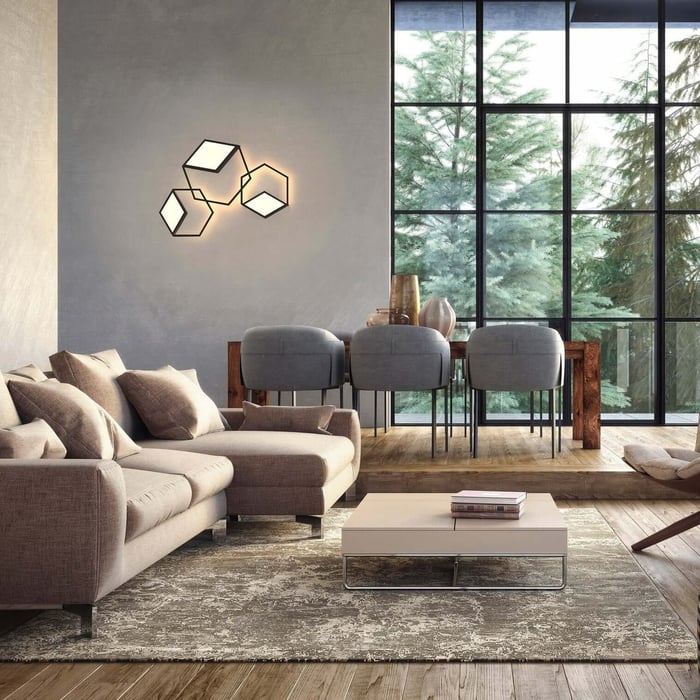
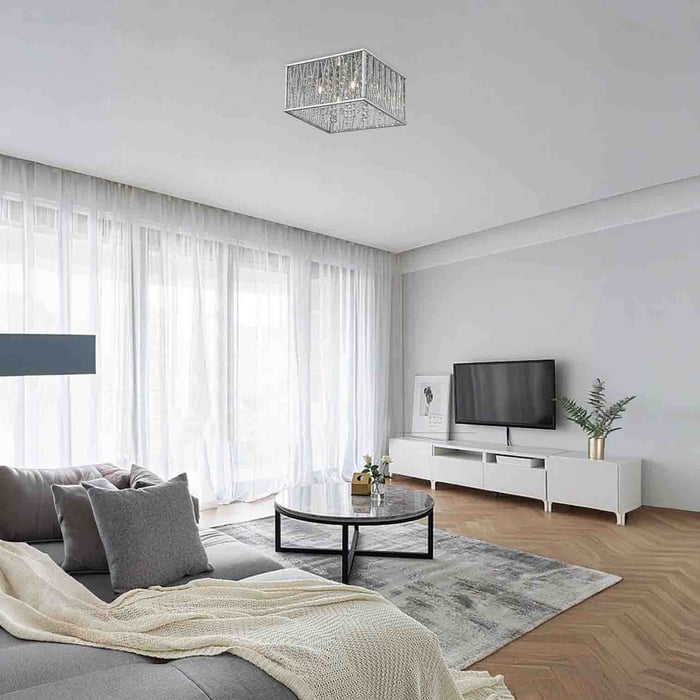
Lighting and surfaces work together. Dark paint, matte finishes, and dark counters absorb light. Even strong fixtures will feel weaker in rooms that don’t reflect something you may have noticed with living room lights in darker, moodier spaces.
What to do instead
Add light-reflective finishes where possible.
Use lighter tones on walls or ceilings.
Add glossy tile or reflective accents.
Break up dark areas with lighter rugs, stools, or décor to help reflect more light.
You don’t have to redo your kitchen to fix the problem. Even small surface changes like a lighter backsplash, brighter wall color, or a few reflective accents help spread light more evenly and reduce that heavy, dim feeling.
Once the room reflects light better, your kitchen lights will look brighter without you changing a single fixture. The kitchen feels cleaner, more open, and more balanced because the light finally has something to bounce off instead of getting absorbed.
Why One Switch Makes Kitchen Lights Feel Dim
A kitchen needs different brightness levels at different times. If everything is on one switch, you’ll avoid using some lights because they feel too harsh at night, so you end up with a dim kitchen again. This is why layered control is common not only in kitchens but also with bedroom lights, where softer settings matter.
What to do instead
Put ceiling lights, under-cabinet lights, and pendants on separate switches.
Add dimmers for flexibility.
Build a “bright mode” and a “night mode.”
Label or group switches by area, so it’s easy to turn on only what you need.
Control is part of good kitchen lights, not an extra. When each lighting layer has its own switch or dimmer, you can adjust the kitchen to match the moment: full brightness for prep, softer light for late-night cleanup, and a comfortable glow for meals.
That simple change keeps you from turning lights off just because they feel overpowering. Instead, you use more of your lighting more often, which makes the kitchen stay bright, practical, and welcoming throughout the day.
How to Layer Kitchen Lighting the Right Way
Once you know the mistakes, the fix becomes simple: layer your lighting. You don’t need a designer budget, just the right mix.
1. Ambient lighting (overall brightness)
This is your base. It keeps the room evenly lit.
Good options:
Recessed ceiling lights
Flush-mount fixtures
LED panel lights
Track systems with widespread
Ambient kitchen lights should cover the whole room, not just the center.
2. Task lighting (work areas)
This makes counters and sinks bright enough to use comfortably.
Good options:
Under-cabinet strips
Puck lights
Pendants over the island
Adjustable track heads
Task kitchen lights are what make cooking feel easy.
3. Accent lighting (depth and corners)
This fills the leftover shadows and makes the kitchen feel finished.
Good options:
Above-cabinet uplighting
Toe-kick lighting
Glass cabinet interior lights
Accent kitchen lights are subtle, but they change the feel of the room.
Top Kitchen Lights That Work Best in Dark Spaces
If you’re choosing new lights, start with these reliable picks (brands like alora mood often carry clean, modern options in each category):
LED recessed lights
They spread light evenly without cluttering the ceiling. Great for low ceilings and kitchens without windows. Use a cool white bulb if your kitchen is very dim.
Under-cabinet LED strips
The fastest upgrade you can make. They brighten counters, reduce shadows, and help the whole kitchen look cleaner.
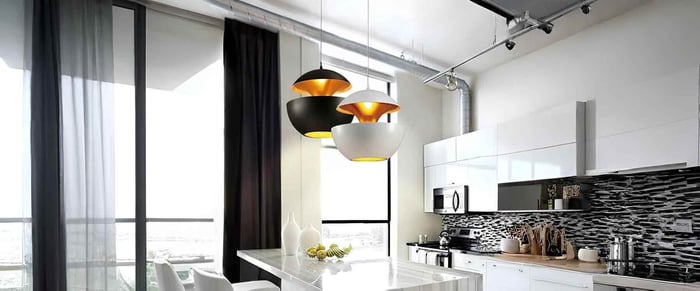
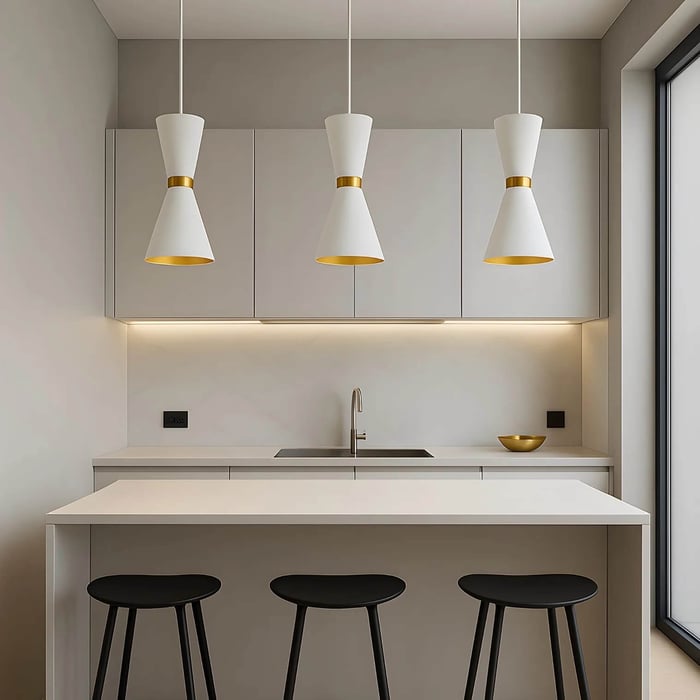
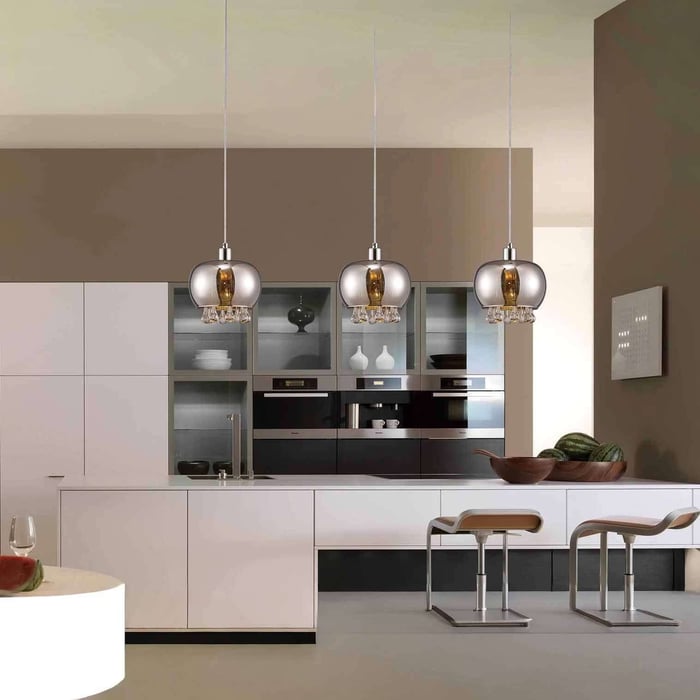
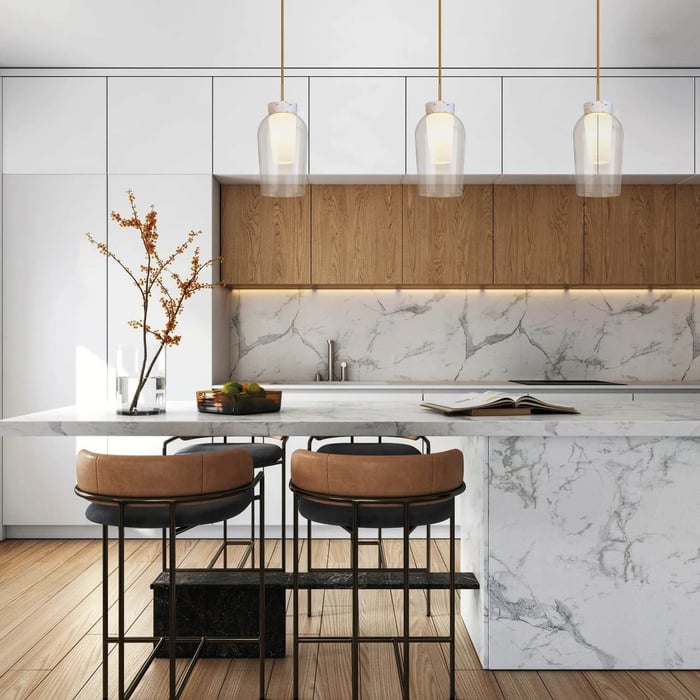
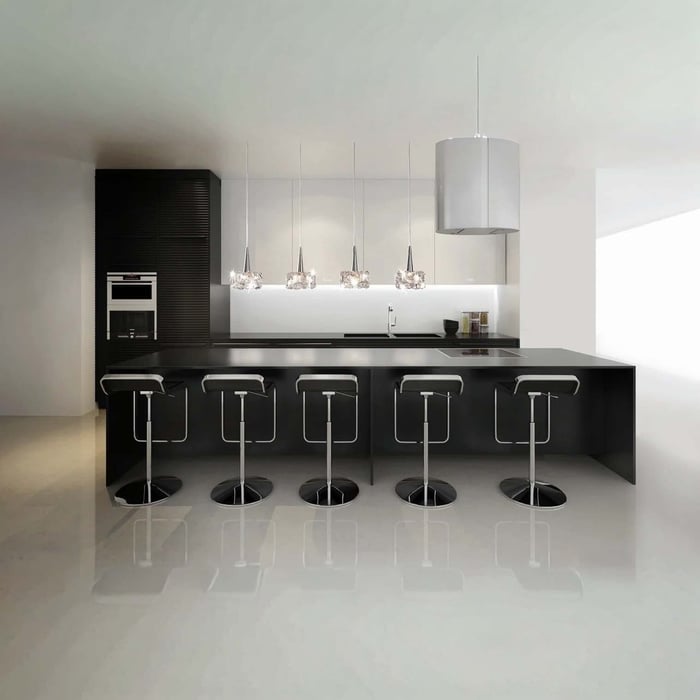
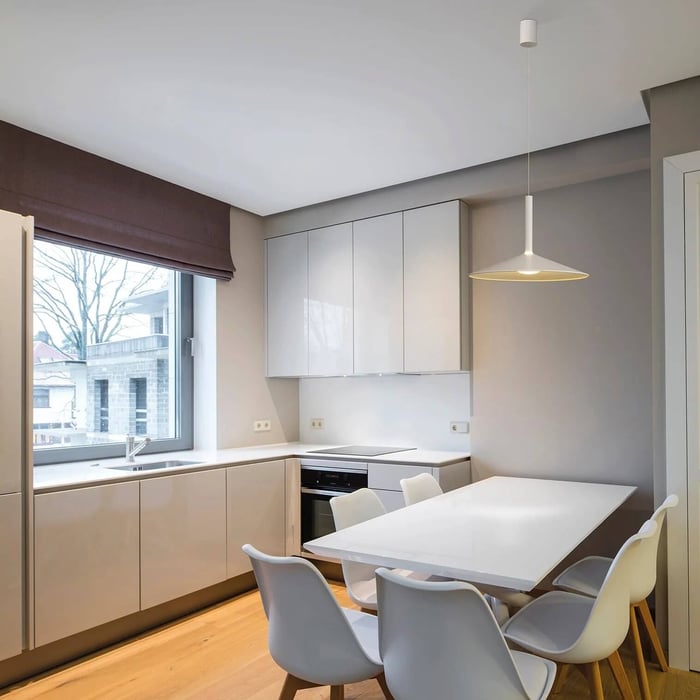
Open-shade pendants
Perfect over islands or sinks. Choose shades that don’t block light. Clear or white glass works especially well.
LED panel lights
These give broad, even light, and are ideal for kitchens that feel dark no matter what you do.
Adjustable track lighting
Useful in kitchens with odd shapes or dark corners. Aim the heads where you need them most.
Choosing the right kitchen lights isn’t about picking the most expensive fixture; it’s about picking the one that solves the room’s problem.
What to Check Before Choosing Kitchen Lights
Use this list to avoid ending up with a dark kitchen again:
Do I have more than one ceiling light source?
Are my bulbs bright enough and in the right color range?
Will my counters have direct light?
Do my fixtures allow light to spread?
Am I lighting corners and work zones?
Can I control different lights separately?
If you can answer “yes” to most of these, your kitchen lights plan will work.
Conclusion
A dark kitchen usually isn’t missing light, it’s missing the right light in the right spots. When kitchens rely on one ceiling fixture, use bulbs that are too warm or too weak, skip under-cabinet lighting, choose shades that trap brightness, or place fixtures without a layout, shadows take over. The fix is simple and practical: spread your ceiling lighting, use brighter 3000K-4000K bulbs, add under-cabinet lights to your prep zones, and make sure every key area has direct coverage. Layering ambient, task, and accent lighting brings the room back to life without tearing anything out.
If your kitchen still feels dim, start with smarter upgrades instead of a remodel. Choose kitchen lights that match how you cook, clean, and move through the space, then build outward from there. When you’re ready to find fixtures that fit these tips, browse Niori's kitchen lights. Explore the collection.
FAQs
What are the best Kitchen Lights for a dark kitchen?
Go for layered lighting: recessed ceiling lights for overall brightness, under-cabinet LED strips for counters, and pendants or track lights for focused areas. This combo removes shadows and lights the whole room evenly.
How bright should Kitchen Lights be? (What lumens do I need?)
For general lighting, aim for about 800-1100 lumens per bulb. Dark kitchens usually need multiple fixtures, not just one high-lumen bulb, to avoid dim zones.
What color temperature is best for Kitchen Lights in a dark kitchen?
Stick to 3000K-4000K.
3000K keeps things warm but clear.
4000K feels brighter and more energizing.
Avoid very yellow light if your kitchen already lacks natural light.
Why do my Kitchen Lights still feel dim after changing bulbs?
Because placement and coverage matter more than bulb strength alone. If you only have one ceiling light or no under-cabinet lighting, shadows will remain on counters and corners no matter how bright the bulb is.
Should I get under-cabinet Kitchen Lights, and are they worth it?
Yes if your counters look shadowy, under-cabinet lighting is the quickest fix. LED strips or puck lights brighten prep areas directly, improve safety, and make the kitchen feel instantly brighter.