Table of Contents
Introduction
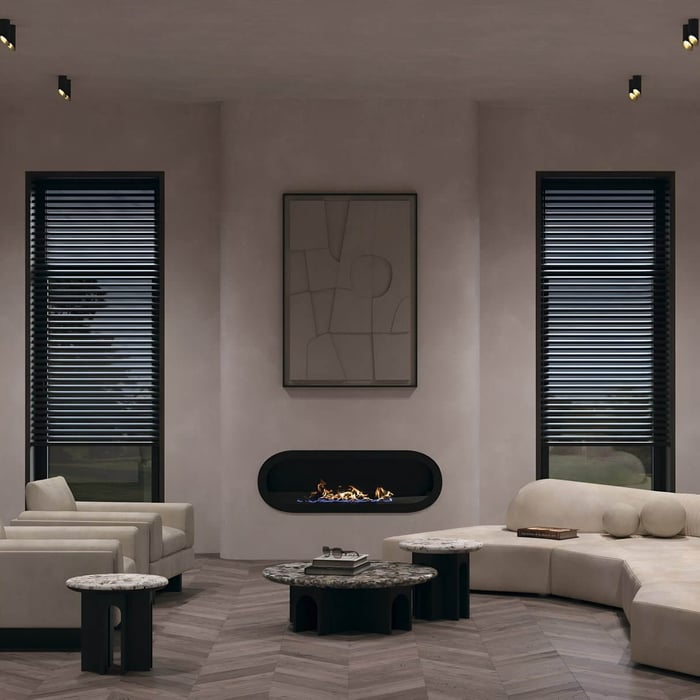
Downlights are one of the most effective ways to achieve clean, balanced ceiling lighting in modern homes. When chosen correctly, downlights create a smooth spread of light that enhances comfort, highlights key areas and supports your overall interior design. When chosen poorly, they can leave rooms feeling harsh, flat or visually cluttered.
Working closely with clients to design practical, well-balanced lighting schemes, I’ve seen how thoughtful planning transforms a space. The difference between a polished finish and a disappointing result often comes down to understanding the practical do’s and don’ts before installation begins.
This guide focuses on exactly that the decisions that genuinely matter.
What Are Downlights And When Should You Use Them?
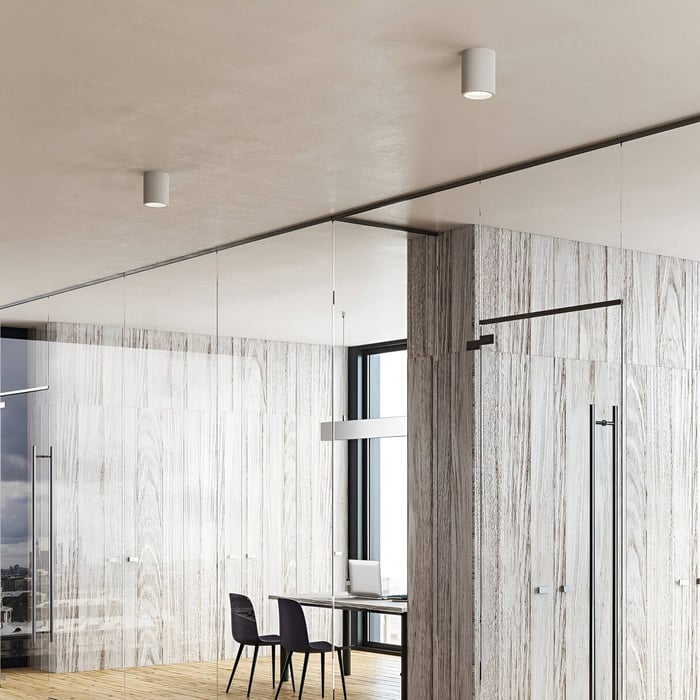
Downlights are ceiling-mounted fittings that direct light downward in a controlled beam.
Most are recessed into the ceiling for a seamless look, although surface-mounted versions are available where ceiling depth is limited. They are ideal when you want discreet, functional lighting that doesn’t dominate the room visually.
They work particularly well in:
Kitchens and utility rooms
Hallways and circulation areas
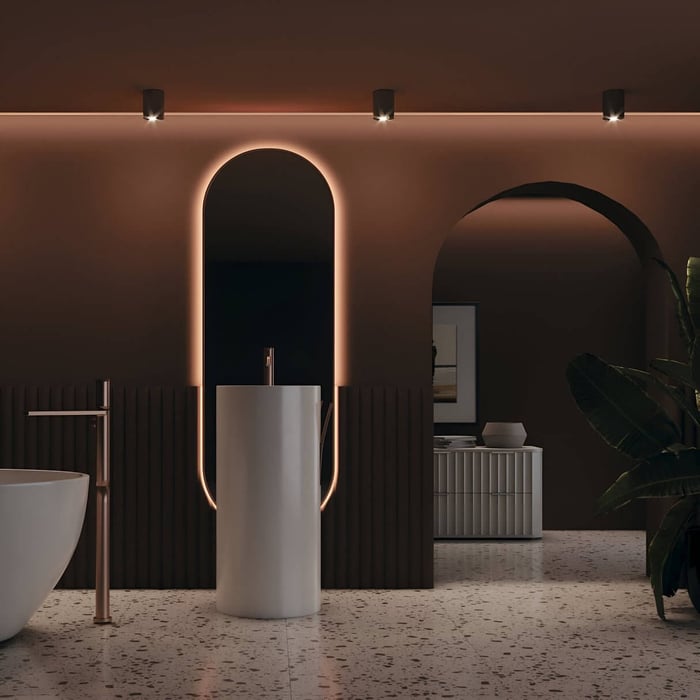
Bathrooms (with appropriate IP rating)
Open-plan living spaces
Low-ceiling rooms where pendants would feel intrusive
Unlike decorative fixtures, downlights are designed to blend in. If you want lighting that supports the room without becoming the focal point, they are an excellent choice.
What Are The Essential Do’s When Selecting Downlights?
The most important do’s focus on proportion, planning and consistency.
✔️ Do prioritise room function
Lighting should always serve a purpose.
For example:
In kitchens, position fittings over worktops rather than the centre of the room.
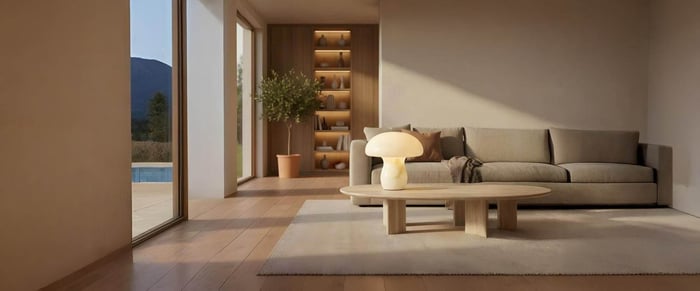
In living rooms, combine them with softer lighting sources for ambience.
In bathrooms, ensure fittings meet moisture safety standards.
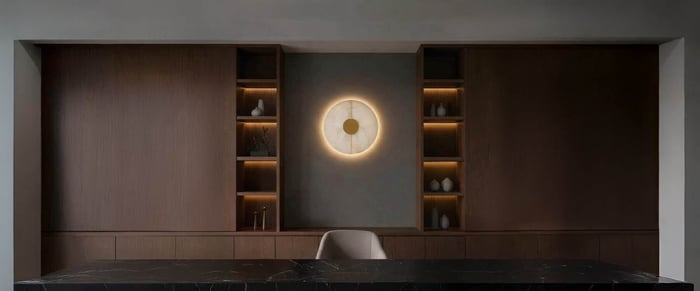
Downlights alone rarely create a layered scheme. In some areas, pairing them with spotlights can help highlight artwork or architectural features, while maintaining general illumination overhead.
Function must guide layout.
✔️ Do choose the right size of downlights
Choosing the correct size affects both performance and appearance.
The right diameter depends on:
Ceiling height
Room size
Brightness requirements
As a practical guide:
Small rooms: 50-70mm cut-out
Standard rooms: 70-90mm
Large open-plan areas: 90mm+
Too large, and they overwhelm the ceiling. Too small, and they struggle to provide effective coverage. Always check lumen output as well brightness is measured in lumens, not physical size.
✔️ Do plan spacing carefully
Spacing determines whether light feels smooth or patchy.
General guidance:
Position fittings 1.5-2 metres apart
Keep them around 50-75cm away from walls
Align them with cabinets, islands or furniture
In kitchens, poor alignment is immediately noticeable. In hallways, evenly spaced downlights prevent shadow pockets.
Planning the layout before plastering avoids costly corrections later.
✔️ Do maintain a consistent style
Consistency prevents visual distraction.
How to avoid mismatched downlights styles:
Stick to one trim finish per room
Choose either round or square not both
Keep colour temperature uniform
Warm white (2700K-3000K) suits living areas. Cooler tones may work in task-heavy kitchens. Mixing tones within one space creates imbalance.
For interiors that demand a seamless ceiling finish, plaster lights can offer an even more integrated look, blending fully into the architecture.
✔️ Do consider dimming options
Dimming capability adds flexibility.
Benefits include:
Adjustable ambience
Reduced glare in the evening
Improved energy efficiency
Dimmable downlights allow a space to shift from bright task lighting to softer evening comfort without changing fittings.
What Are The Common Mistakes To Avoid?
Avoiding these mistakes will improve both comfort and longevity.
❌ Don’t overcrowd the ceiling
Installing too many fittings is a common error.
Overuse can:
Create excessive brightness
Increase glare
Make a room feel clinical
More fittings do not guarantee better lighting. Balanced spacing and appropriate lumen levels are far more important.
❌ Don’t ignore ceiling height
Ceiling height affects glare and output.
Low ceilings need glare-controlled or recessed designs.
Higher ceilings require stronger lumen output or wider beam angles.
Ignoring this leads to uncomfortable brightness or dull patches.
❌ Don’t mix finishes carelessly
Black trims paired with white trims in the same zone rarely look intentional.
Choose one finish:
White for subtle blending
Black for contrast
Brushed metal for contemporary interiors
A coordinated finish maintains cohesion.
❌ Don’t forget safety ratings
Bathrooms and certain kitchens require IP-rated fittings.
Always check:
IP rating
Fire rating if required
Insulation compatibility
Choosing trusted manufacturers such as Knightsbridge ensures compliance and durability without compromising style.
How Do You Choose The Right Size Step by Step?
Following a clear process simplifies decisions.
Step 1: Measure ceiling height
Under 2.4m → Choose low-glare, compact designs
2.4-2.7m → Standard recessed options work well
Above 2.7m → Consider higher lumen output
Ceiling height directly influences light spread.
Step 2: Calculate room dimensions
Multiply length by width to understand total area.
Larger rooms require:
More fittings
Or higher lumen output
Avoid isolated light pools by ensuring overlap between beams.
Step 3: Define purpose
Decide whether lighting is for:
General visibility
Task areas
Feature highlighting
Purpose determines beam angle and brightness.
Step 4: Check beam angle
Narrow beam: Focused accent lighting
Medium beam: General coverage
Wide beam: Broad illumination
Incorrect beam angles create either sharp circles of light or insufficient coverage.
Step 5: Confirm compatibility
Before purchasing:
Verify cut-out size
Check dimmer compatibility
Confirm fire and insulation ratings
Small technical oversights can cause major installation issues.
How Can You Pair Downlights With Interior Design Styles?
Downlights should support your design rather than compete with it.
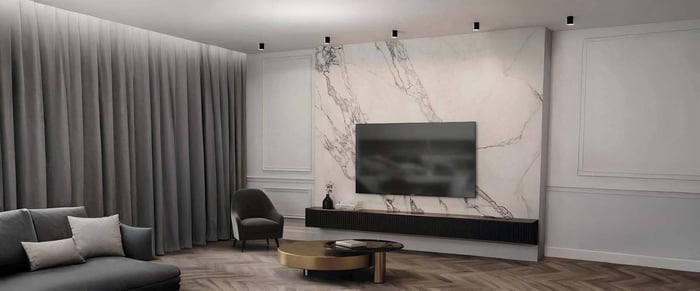
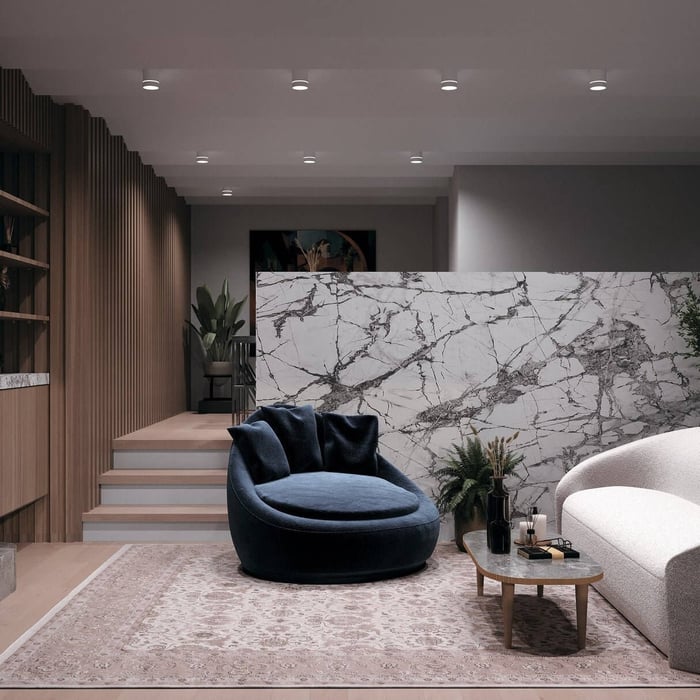
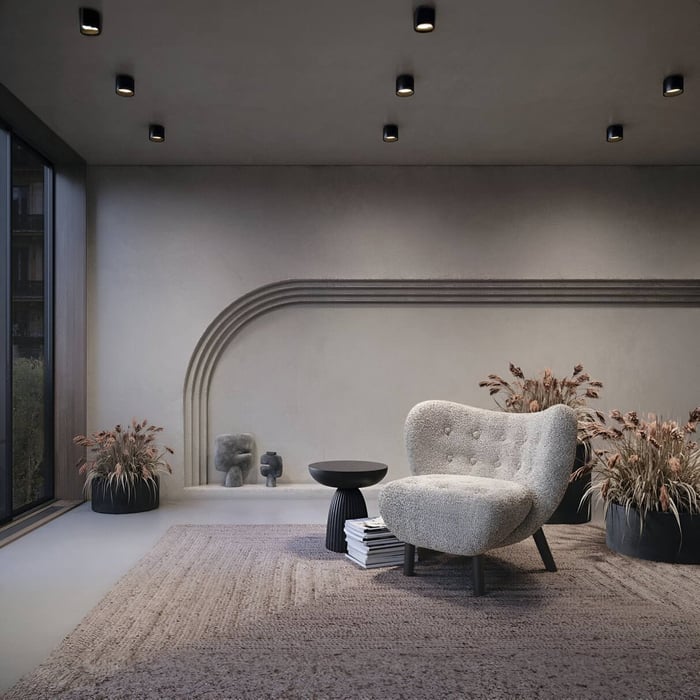
Modern interiors
Matte white or black trims suit clean lines. Keep spacing symmetrical for a refined look.
Industrial schemes
Black or brushed metal finishes work well with exposed brick or steel elements. Slightly wider spacing can enhance texture.
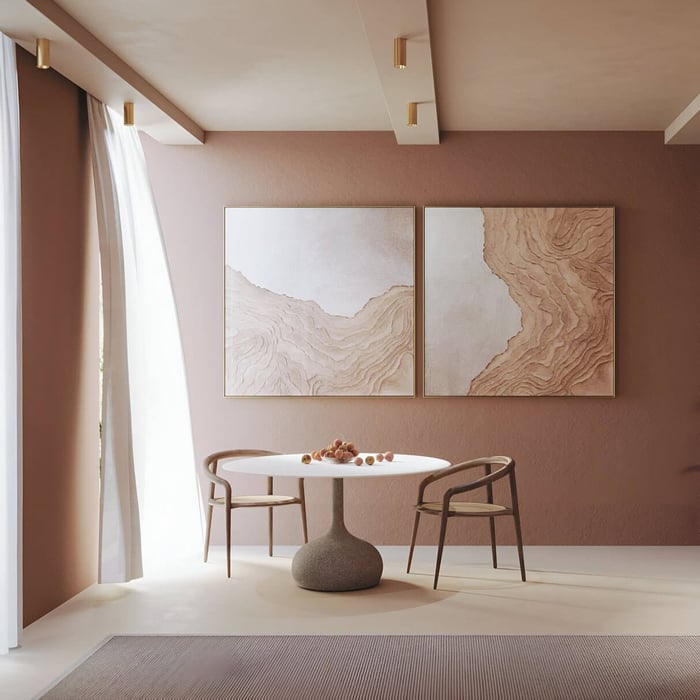
Traditional settings
Warm white tones create comfort. Keep fittings subtle so decorative features remain the focus.
Minimalist ceilings
For ultra-clean finishes, recessed trims that sit flush with the ceiling create a smooth architectural effect.
Consistency across rooms strengthens overall flow.

Quick Summary
Define the purpose of each space before selecting fittings.
Choose the right size based on ceiling height and room dimensions.
Maintain consistent trim finish and colour temperature.
Avoid overcrowding ceilings.
Use dimmable options for flexibility.
Check IP and fire ratings where necessary.
Plan spacing carefully before installation.
Conclusion
Choosing downlights successfully comes down to careful planning, correct sizing and consistent styling. Start by defining the purpose of each room, then select fittings that suit the ceiling height, room dimensions and brightness requirements. Space them evenly, align them with key features, and avoid overcrowding to maintain a clean, balanced ceiling.
Keep finishes and colour temperature consistent to prevent visual disruption, and always check essential safety details such as IP and fire ratings. Where flexibility is important, opt for dimmable options to adjust ambience throughout the day. When these principles are followed, downlights provide practical, comfortable illumination that enhances both function and design without overwhelming the space.
FAQs
How many downlights do I need per room?
It depends on the room size and brightness required. As a general rule, one downlight per 1.5-2 square metres works for general lighting. Always consider beam angle and lumen output alongside quantity.
What colour temperature is best for living areas?
Warm white (2700K-3000K) creates a comfortable, inviting atmosphere. Cooler tones can feel too clinical in relaxation spaces. Keep the colour consistent throughout the room.
Can downlights replace all other lighting?
No, they work best as part of a layered lighting scheme. Combine them with pendants, wall lights or floor lamps for depth. Layering prevents flat, one-dimensional lighting.
Are black downlights too bold?
Black downlights work beautifully in contemporary interiors. They add definition against white ceilings. The key is consistency throughout the space.
How do I avoid glare from downlights?
Choose recessed or anti-glare fittings and avoid placing them directly above eye lines. Beam angle and positioning play a crucial role. Dimming also reduces harshness.
What’s the difference between fixed and adjustable downlights?
Fixed downlights shine straight down. Adjustable versions can tilt to highlight features or artwork. Choose based on whether you need flexibility.
Should downlights be centred in the room?
Not always. In kitchens especially, align them with work surfaces rather than the room’s centre. Practical alignment matters more than symmetry.
Can I mix round and square downlights?
It’s best not to mix shapes within the same visual zone. Consistency keeps the design cohesive. Mixing styles often looks unintentional.
Are larger downlights brighter?
Not necessarily. Brightness depends on lumen output, not size alone. Larger trims may distribute light differently, but always check specifications.
Do I need a professional to plan downlights?
For complex layouts or renovations, yes. A lighting specialist ensures spacing, output and style are balanced. Professional planning prevents costly mistakes.